To Bias Or Not To Bias

I knitted yet another To Bias Or Not To Bias shawl. I published the pattern about two years ago and I think this is probably the sixth I have knitted for myself. I love this pattern because it is so versatile and works with any yarn.

It is an asymmetric shawl pretending it is symmetric. The rows of holes run parallel to the long edge but the rows of knitting do not.


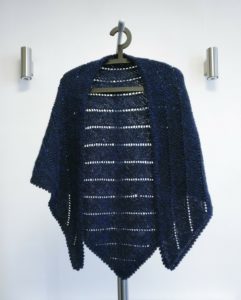
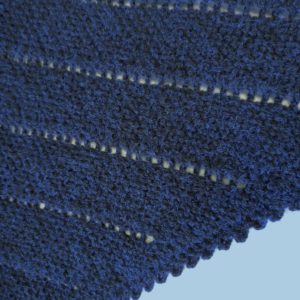
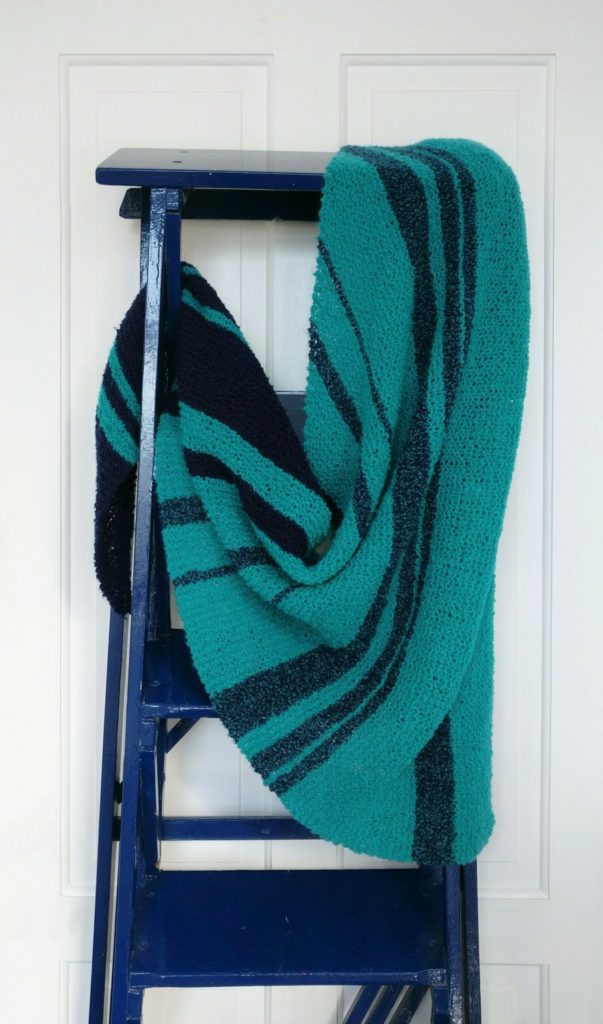
I was given lots of this particular yarn about twenty years ago and always thought it wasn’t really my kind of thing because it was a bit sparkly. It is very dark, possibly black, with a slightly sparkly blue thread running through it.

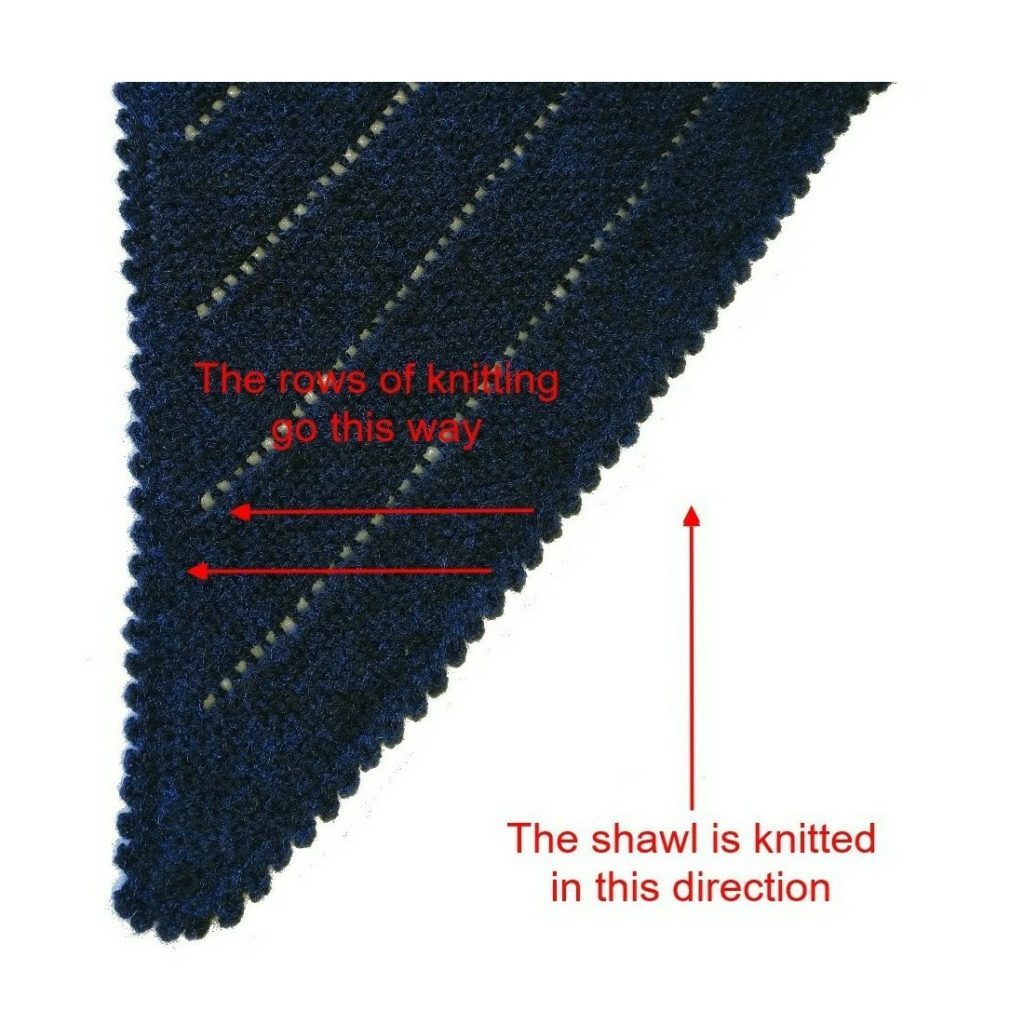
I used the yarn recently to make some slippers and realised that when you stand a little way back it doesn’t really look sparkly at all … so I decided to use it for the shawl. It is DK thickness and I used 5.5 mm needles. I wished afterwards that I had used one size bigger to make it even softer and more cuddly.

In recent years the way of knitting shawls and scarves has changed. They used to be simple affairs in basic triangular, round, or rectangular, shapes. Nowadays the shapes are much more varied. To Bias Or Not To Bias concentrates on traditional right-angled isosceles triangles.

Triangles are often started at the bottom point with just a few stitches. The rows of knitting are parallel to the long edge. Increase at both sides and it gets wider and wider as you move up. Stop knitting when the shawl is wide enough.

Some triangles start in the middle of the back of the neck. The increases are usually done in the centre, and at the outer edges, to form the shape.

You can keep knitting until the shawl is big enough but it can be tricky to see the exact size because the knitting has to bend round the point at the bottom and can be difficult to lay flat until the stitches are off the needle.

In this style the rows of knitting are at right angles to the long edge. The triangle starts at one of the side points. Increases are done on one edge while the other edge is knitted straight. Keep knitting until the shawl is half the length you want it to be then start to decrease on the edge where you were increasing before, still keeping the other edge straight, until all the stitches are worked off.

The biased shawl starts at a point with increases at one side and a straight edge at the other side. It begins in exactly the same way as the shawl above. (The rows of knitting are shown reversed in the diagram.)

Continue until the shawl is the size you want. The sloping edge becomes the long edge of the shawl whereas the sloping edges in the previous example are the short sides..

This is the shape you get when you start knitting

… and this is what it looks like at the point of the shawl

The shawl doesn’t need to have holes … and it doesn’t need to be a shawl. The pattern includes instructions for several variations.

This scarf version was made by Connie (knitsbyconnie on Ravelry)
The photos show the front and back of her scarf
These two shawls were made by Scott
Find him as GreatScottKCMO on Ravelry
This version has no holes but has dramatic stripes of random widths
A scarf without holes, made entirely from scraps of yarn, tied together, and with the knots left showing
One knot looks like mistake, lots of knots become a ‘design feature’

The possibilities are endless


Download the free pattern
To Bias Or No To Bias

Leave a Reply

Your email address will not be published. Required fields are marked *