Woolly Thoughts Afghans

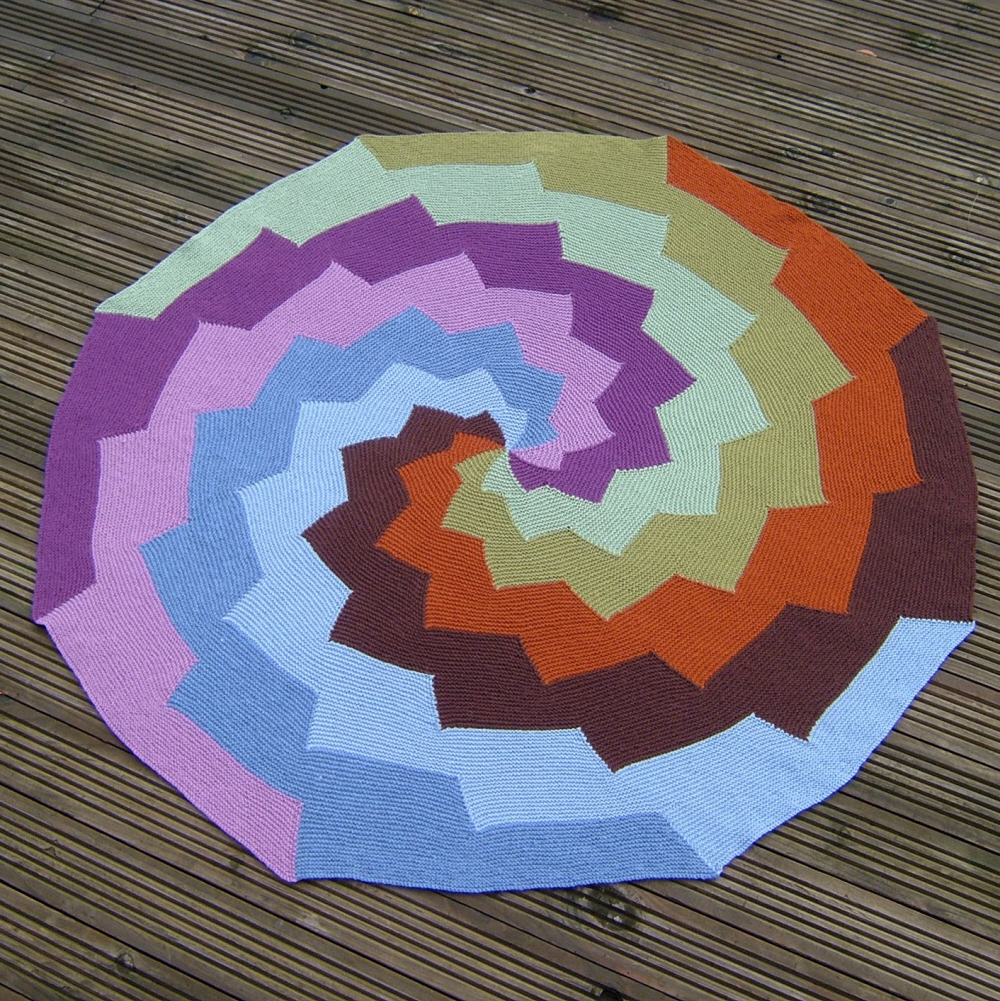
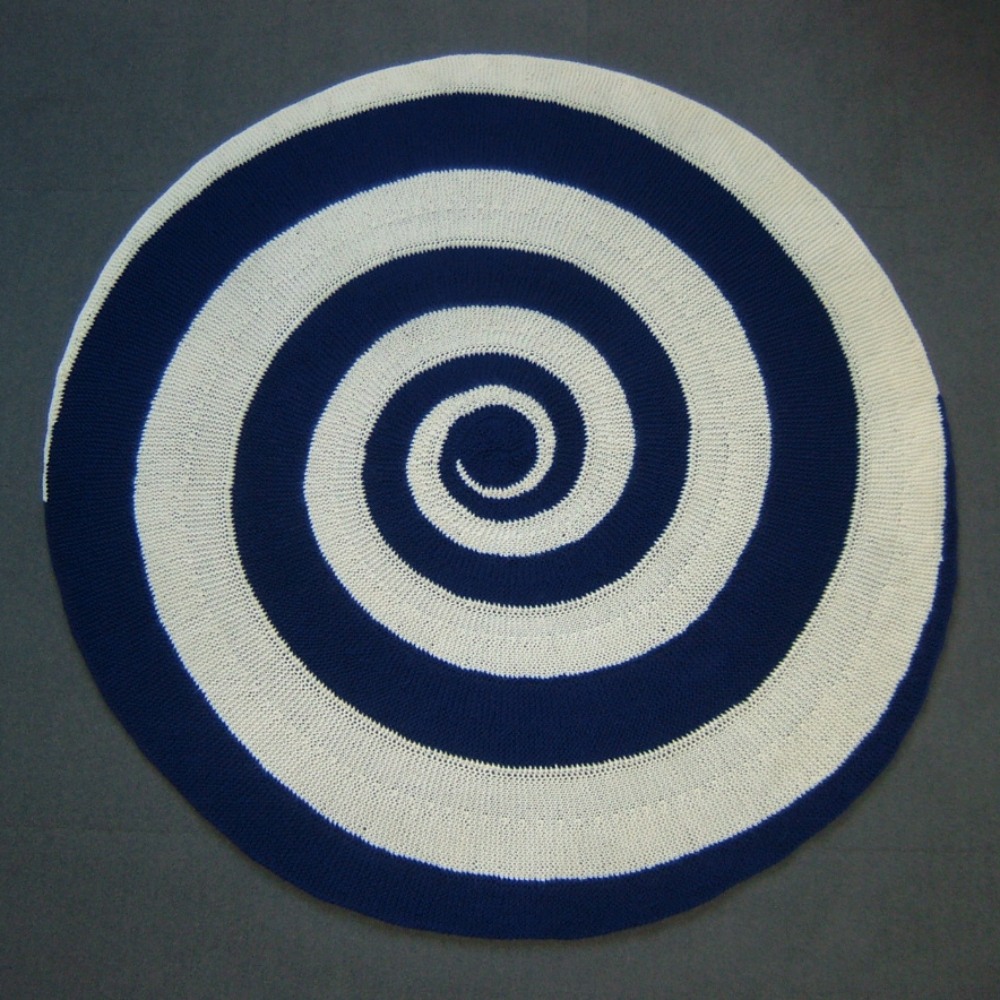
We designed our first afghan in 1996. It came about shortly after the publication of our Woolly Thoughts book when we were contacted by Brown Sheep, a large American yarn company. They asked us if we would design an afghan for them. We agreed but actually had no idea what it was they were wanting. At that time, in UK, the term afghan only related to dogs or coats.

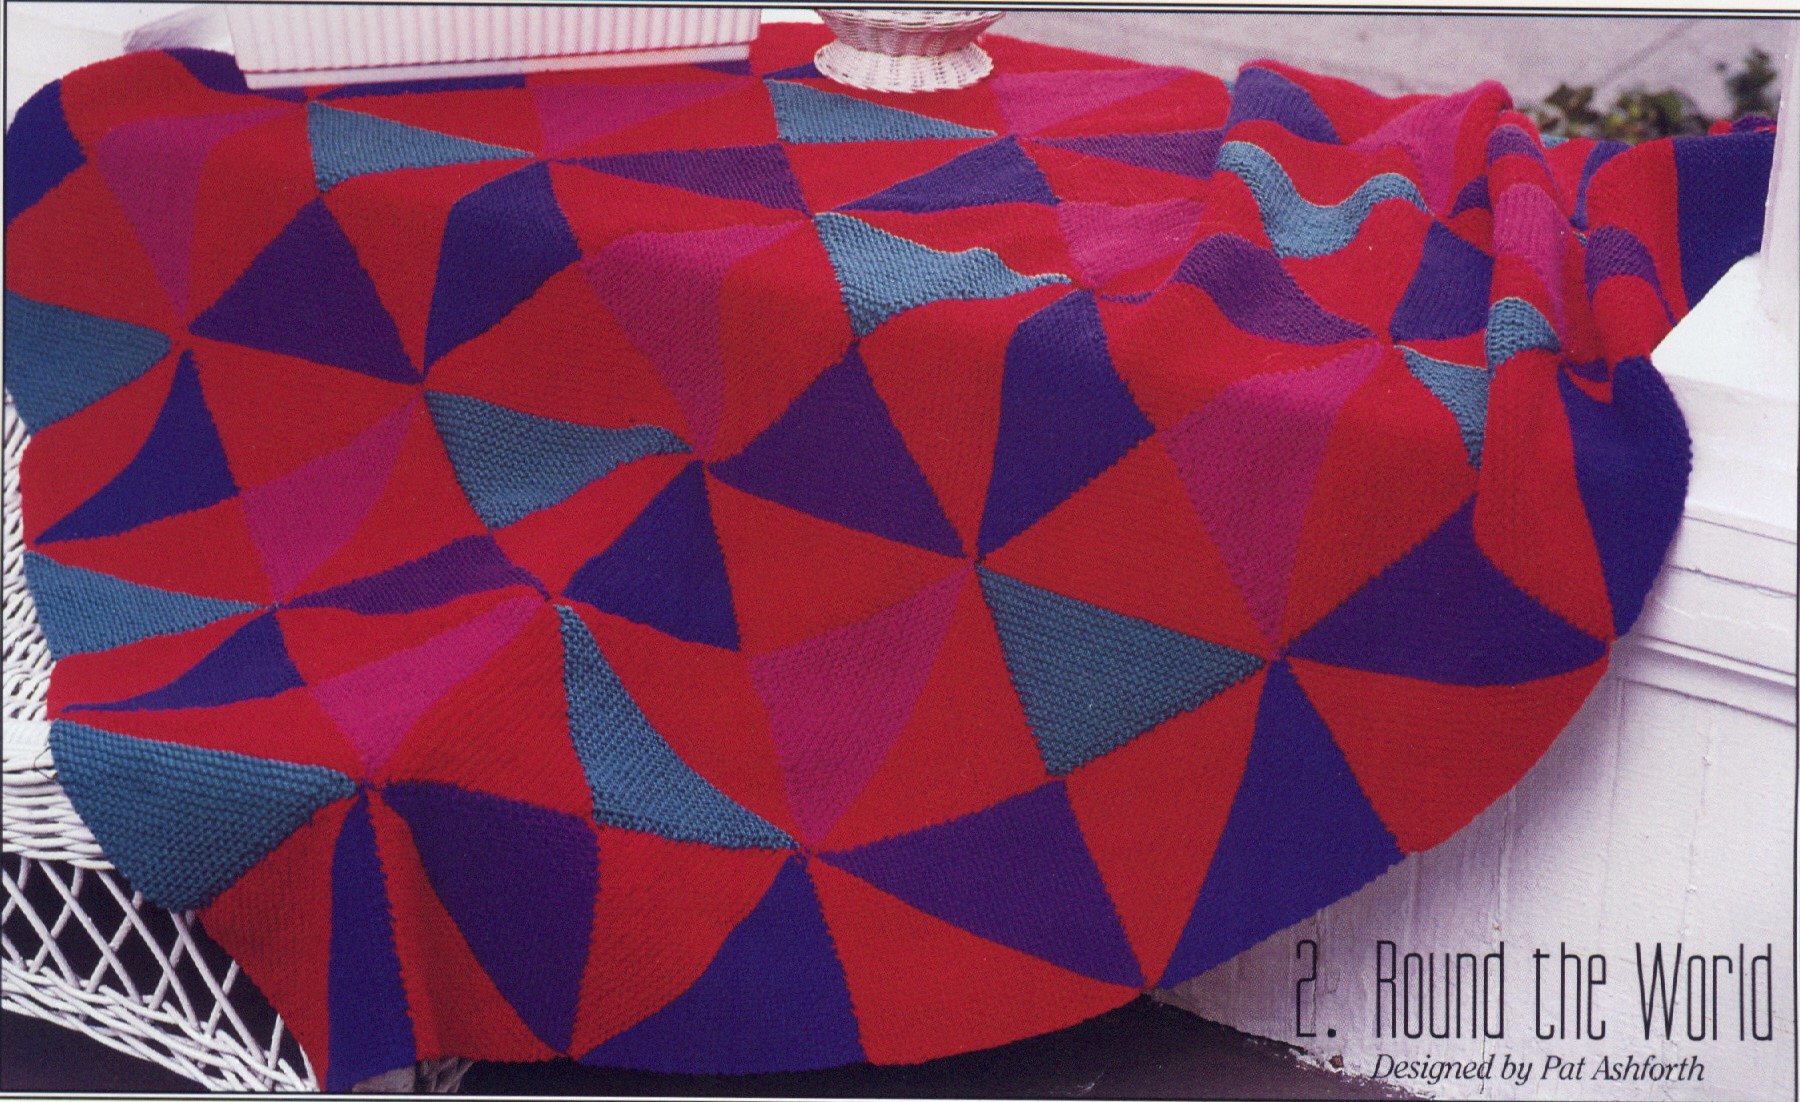
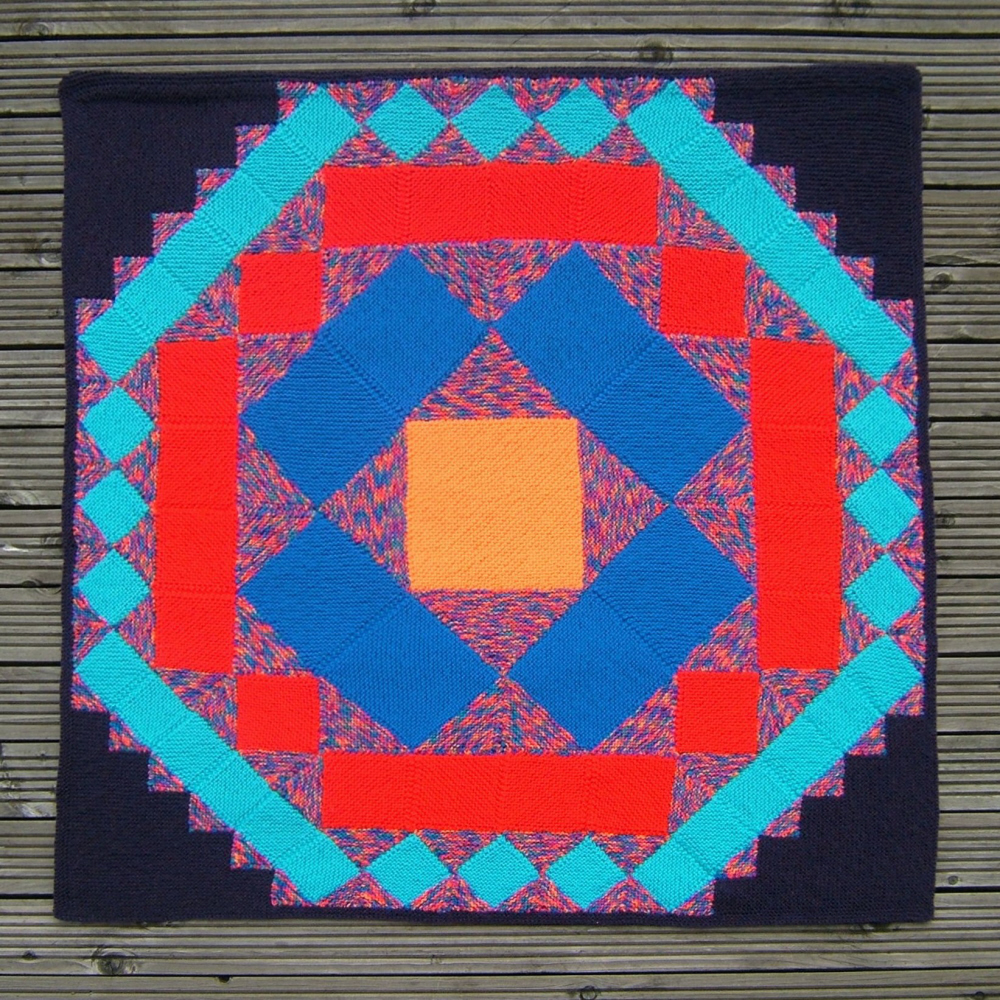
This was in the early days of the internet and, fortunately, we had already been online for two years and had lots of American contacts so we asked them – and got many very varied answers. They all agreed that it was a kind of blanket but there were very diverse opinions on size, shape, texture, etc. We sent several designs to Brown Sheep. They chose one based on an idea we had used in many ways before.

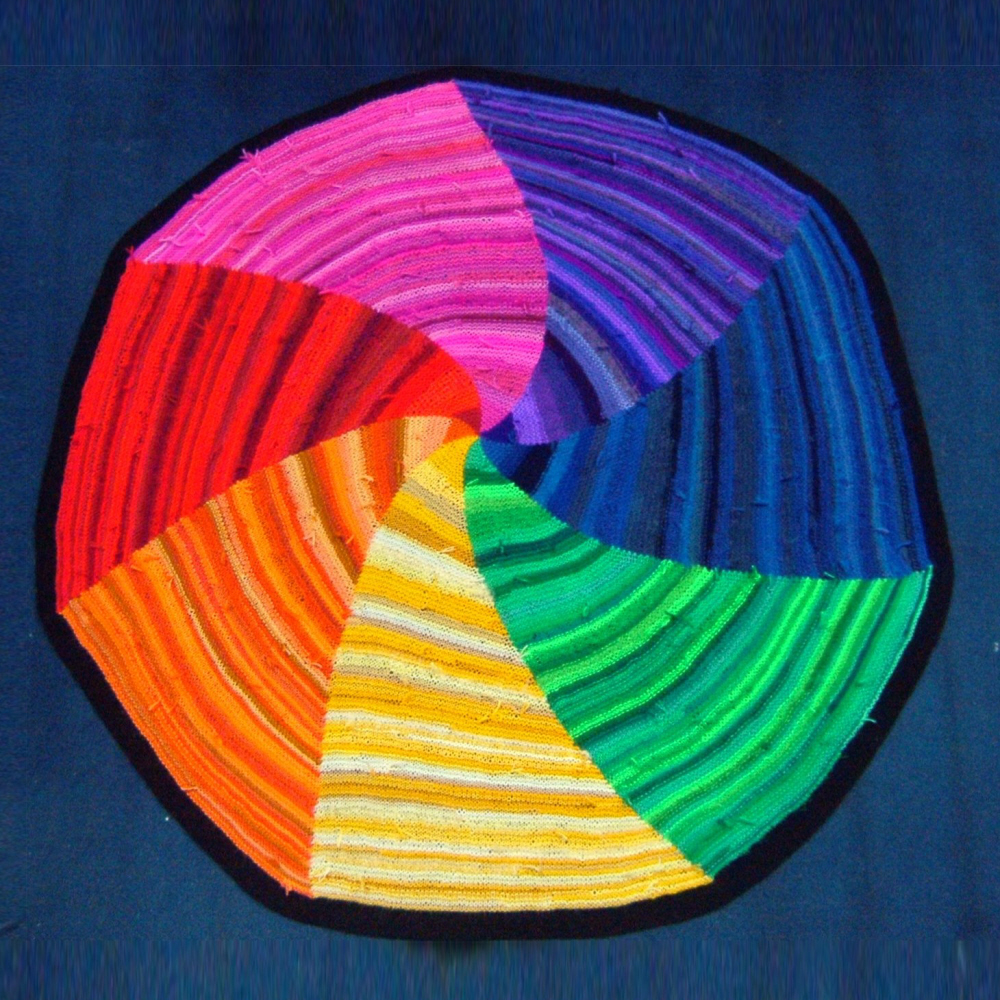
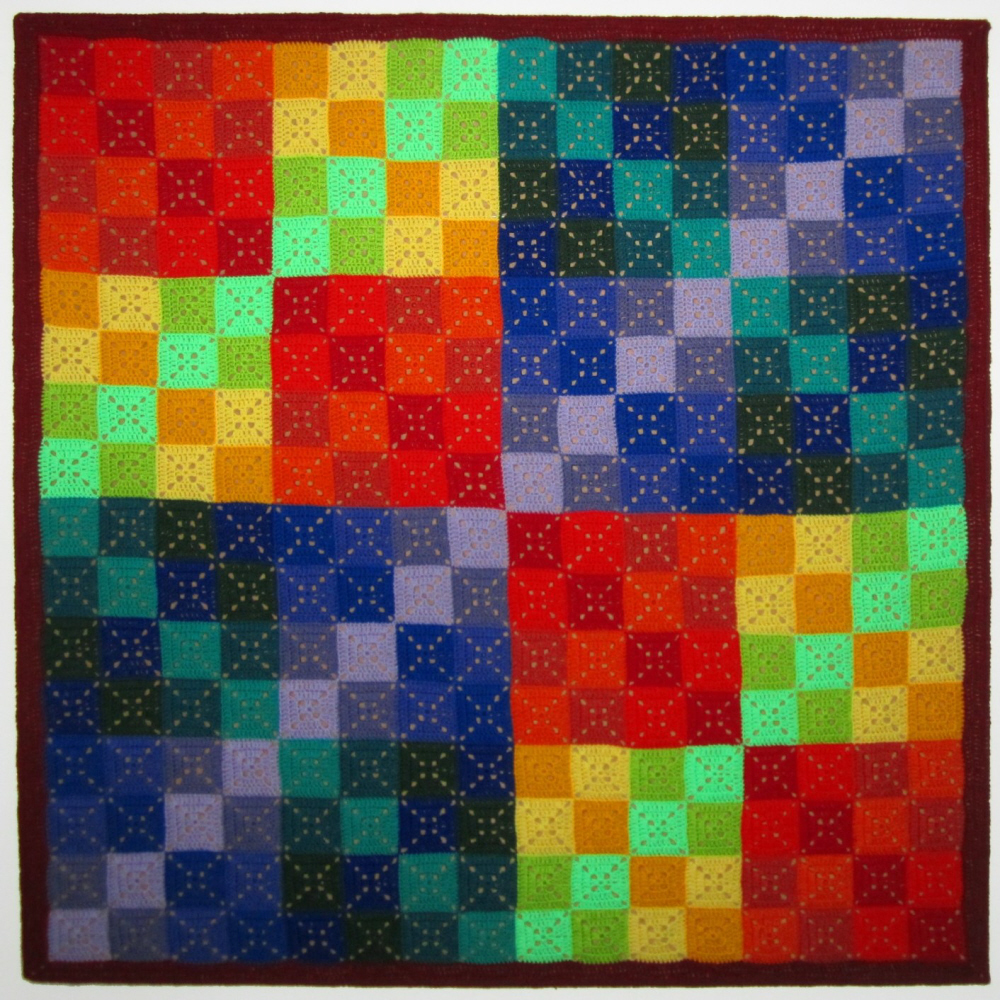
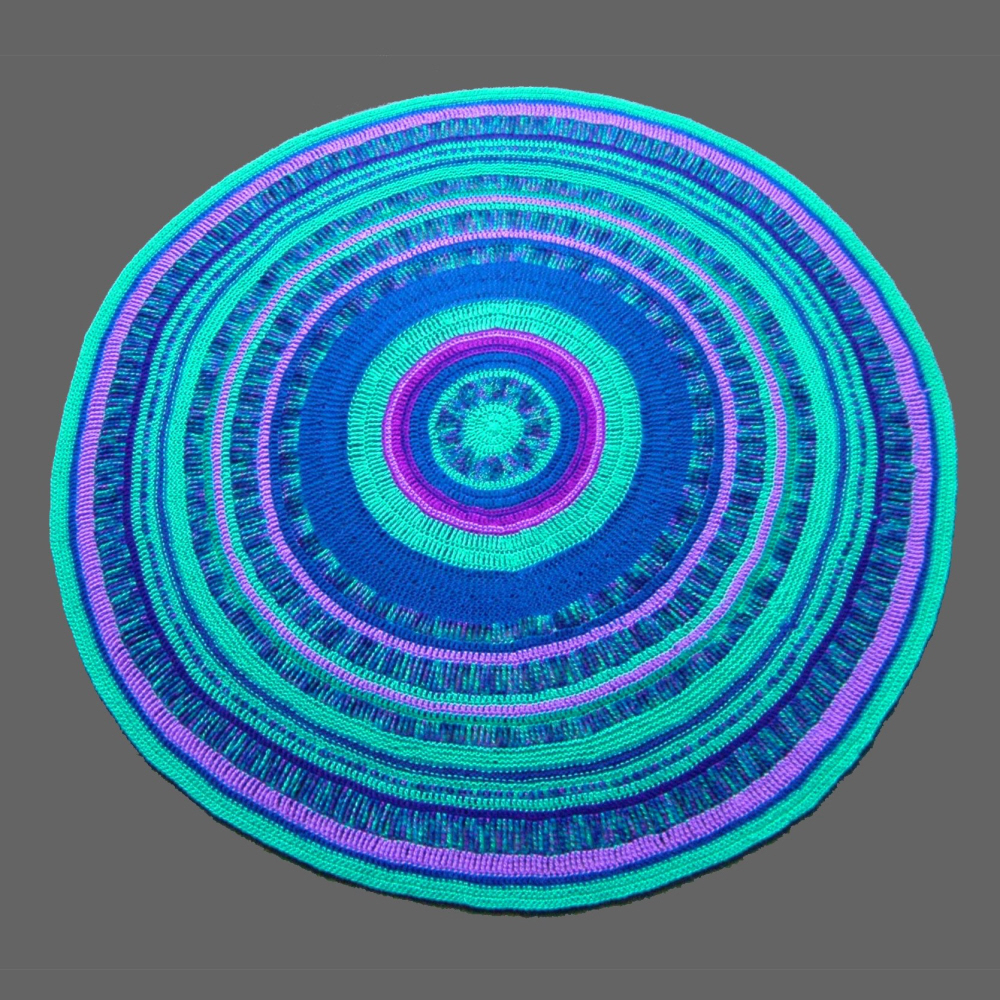
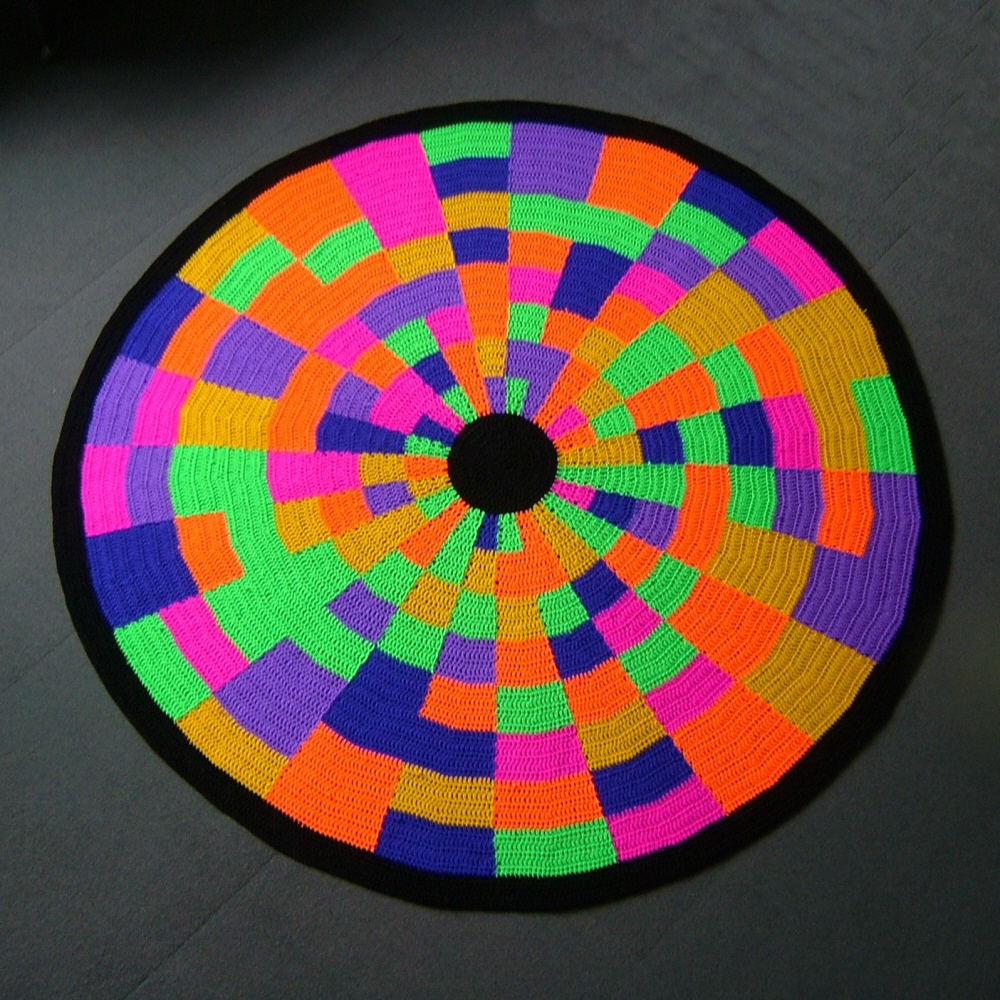
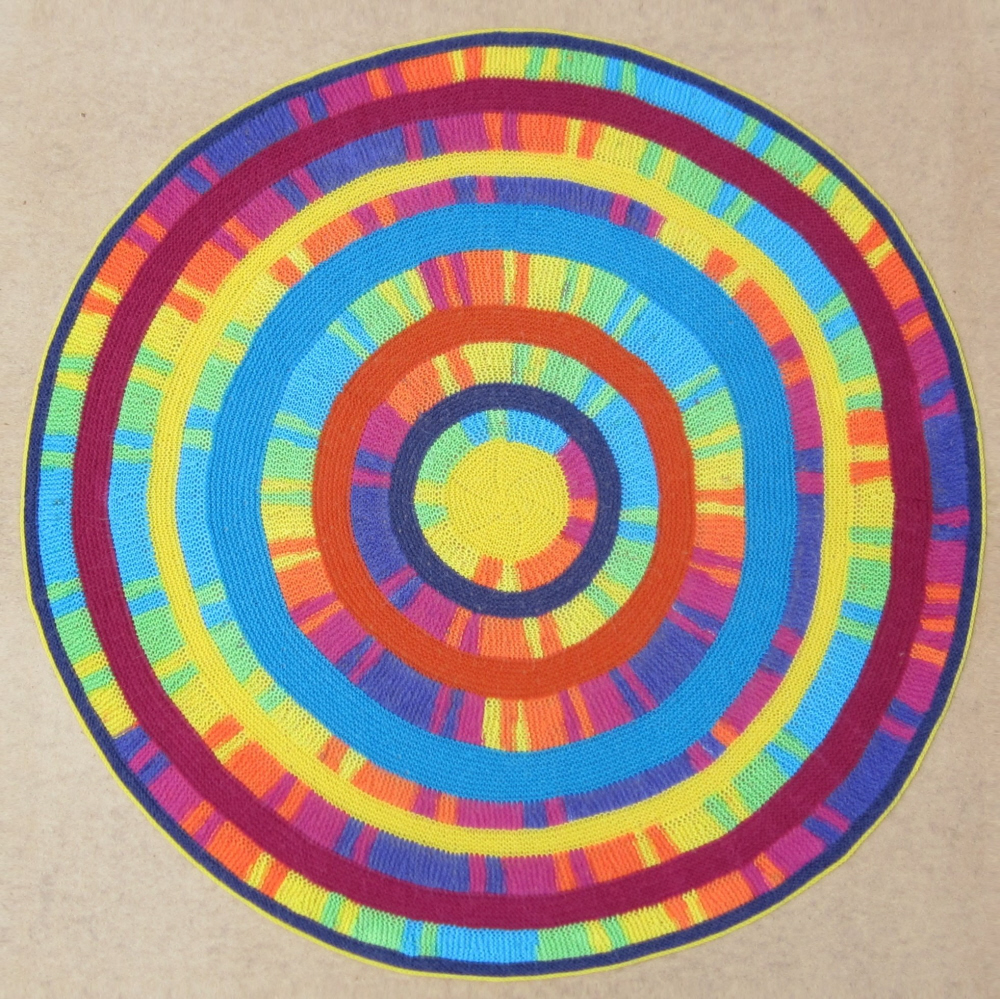
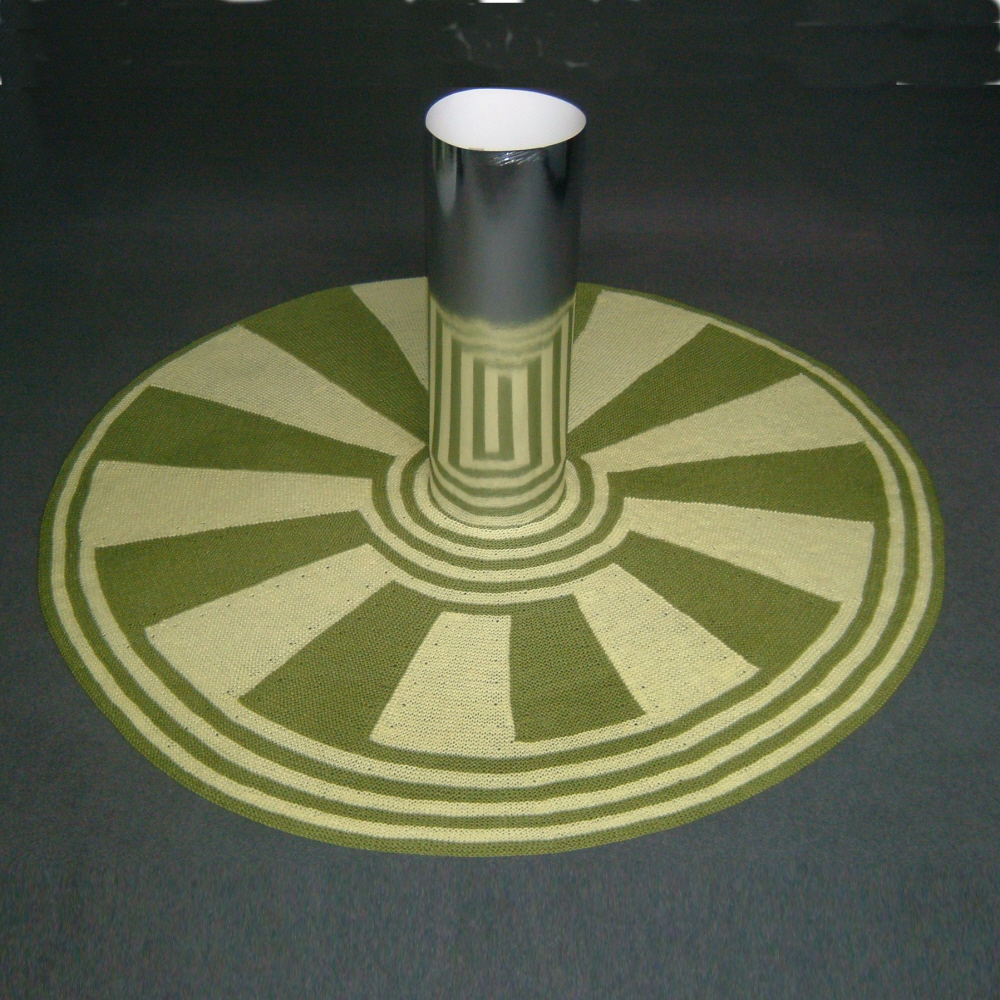
The main point of everything in our book is that the designs work with any type of yarn. This isn’t good news for a yarn company because they want a design that sells yarn for them. To their credit, we were able to reach a happy compromise and the pattern was published with separate instructions for almost every type of yarn they made. It was called Round the World.

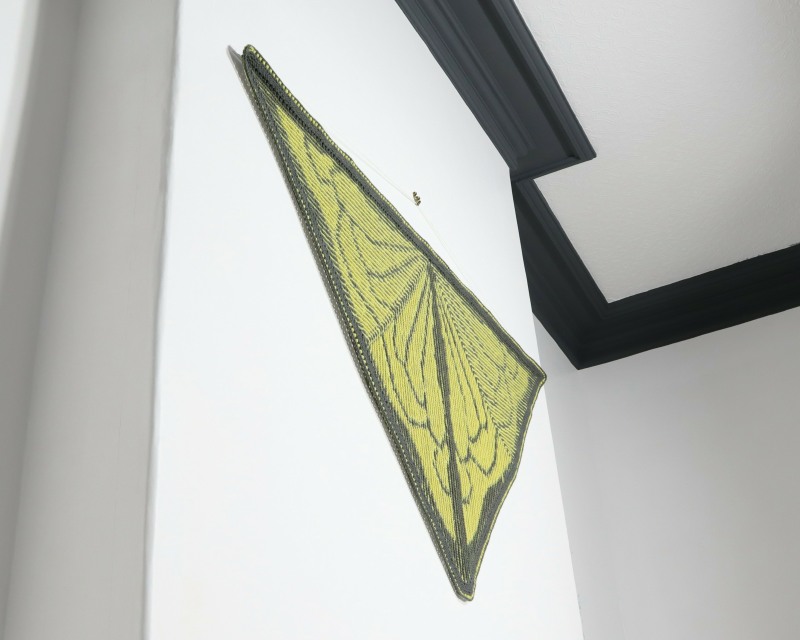
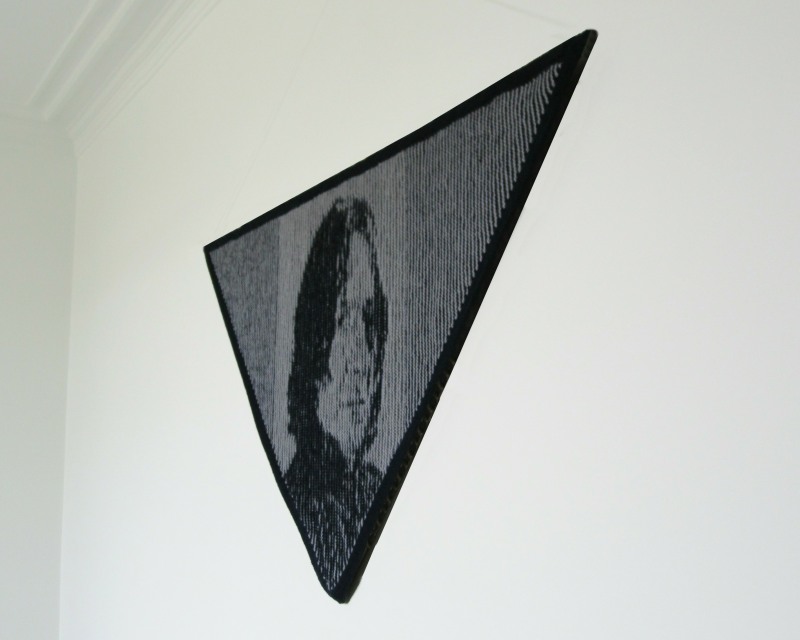
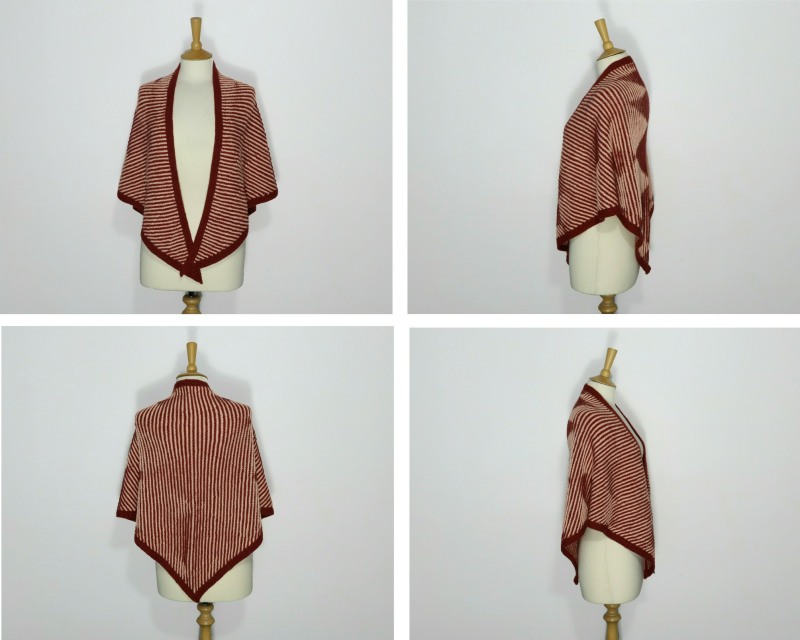
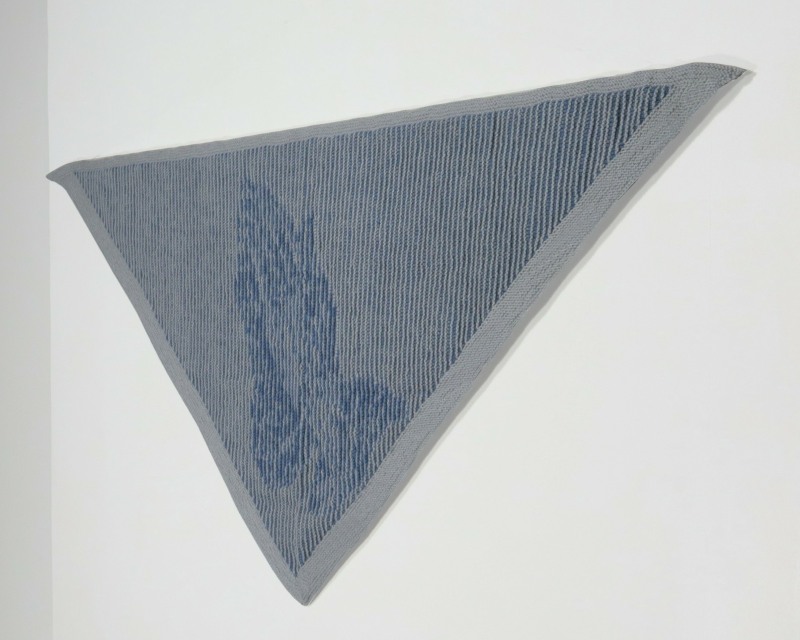
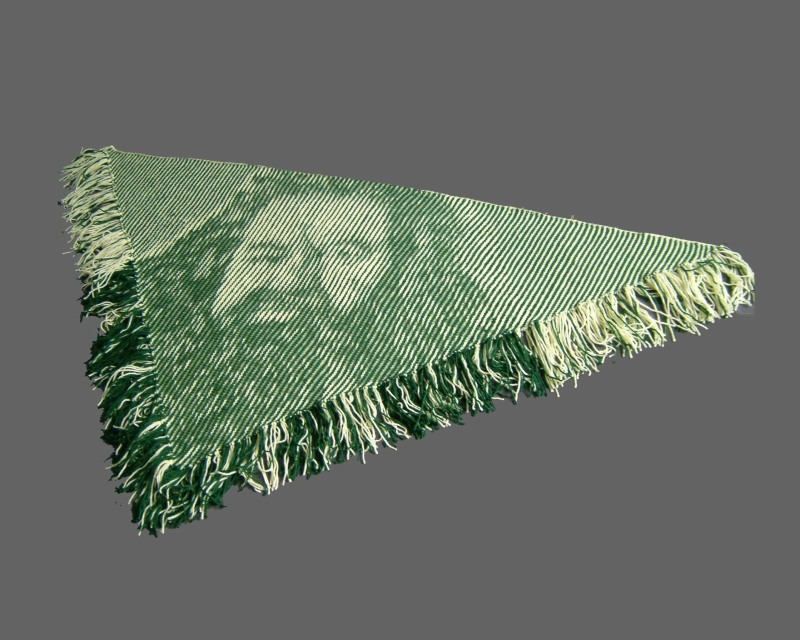
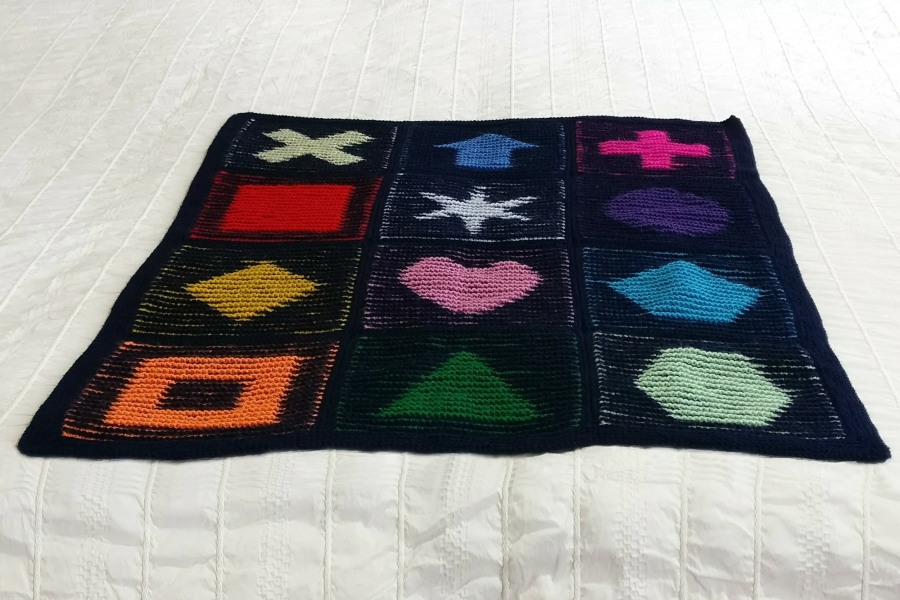
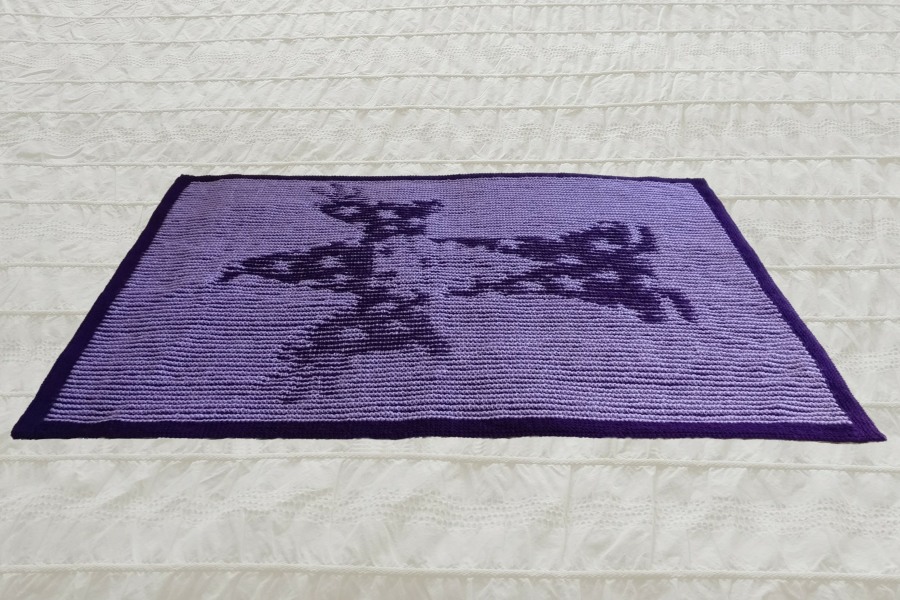
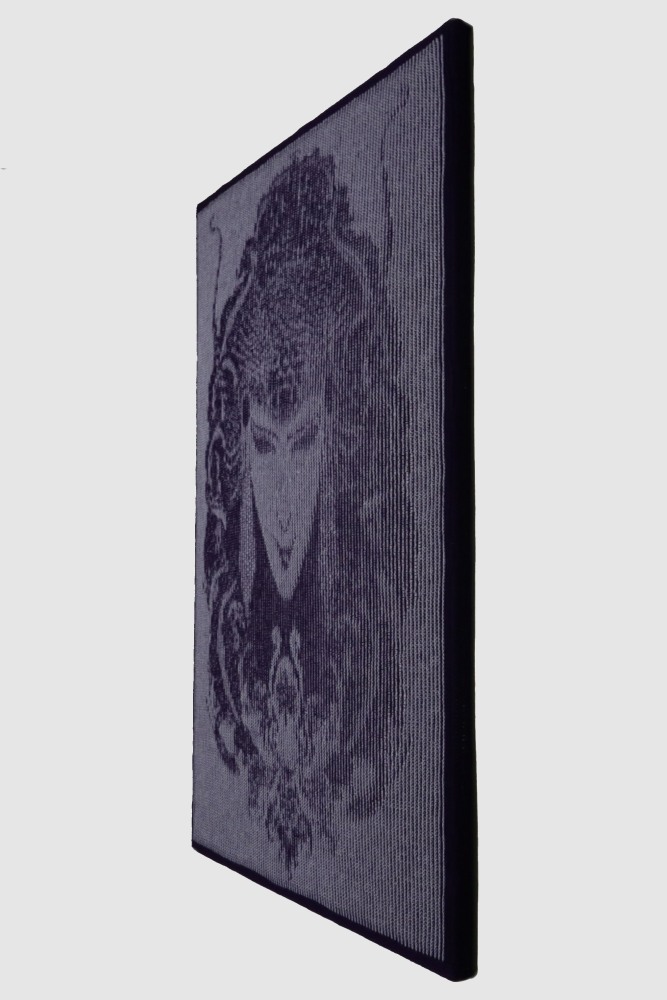
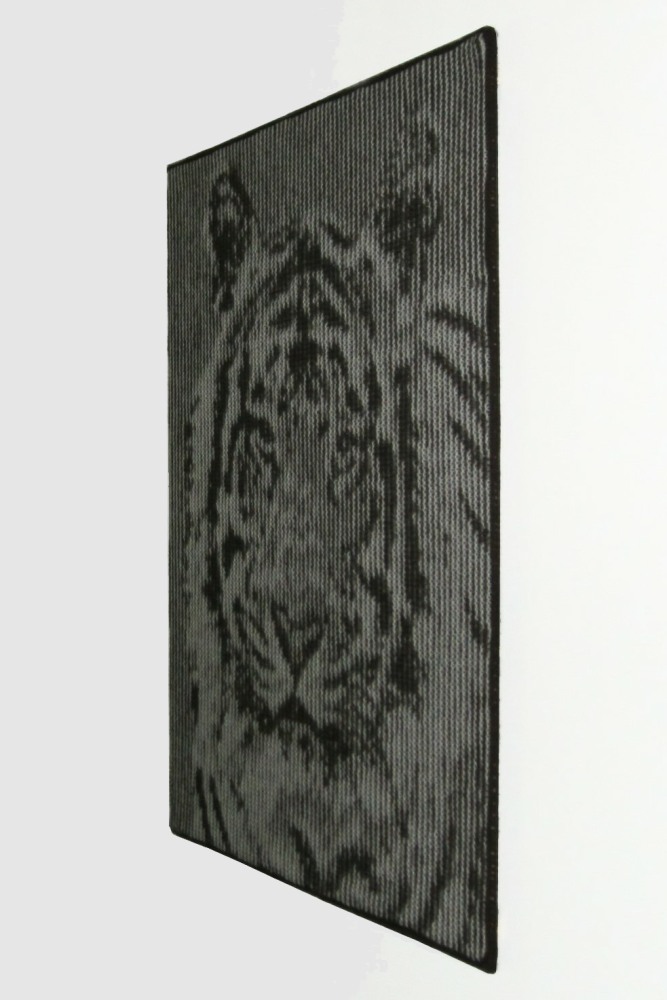
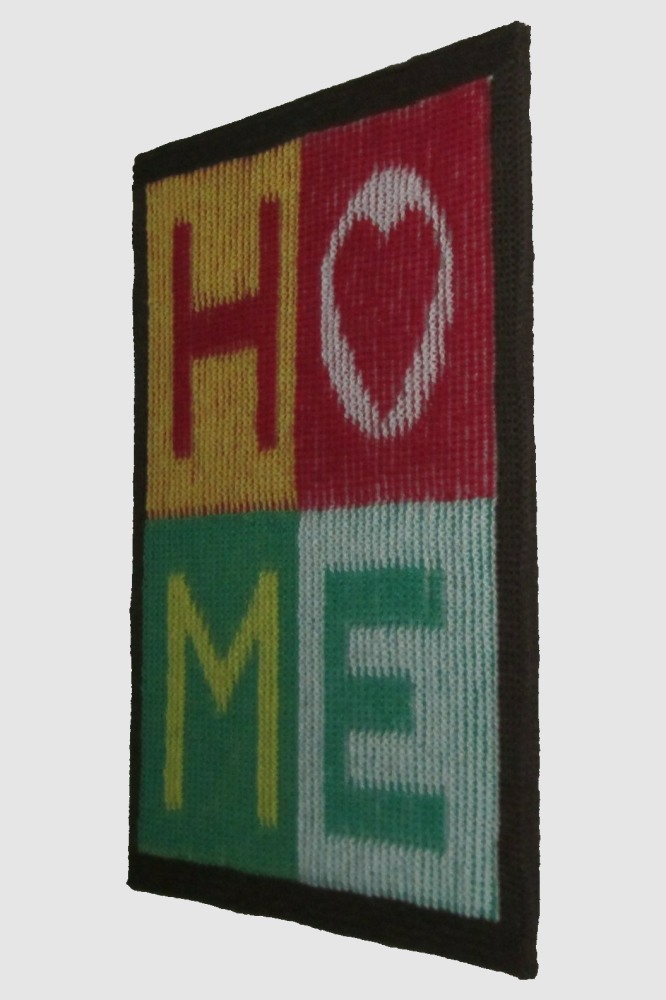
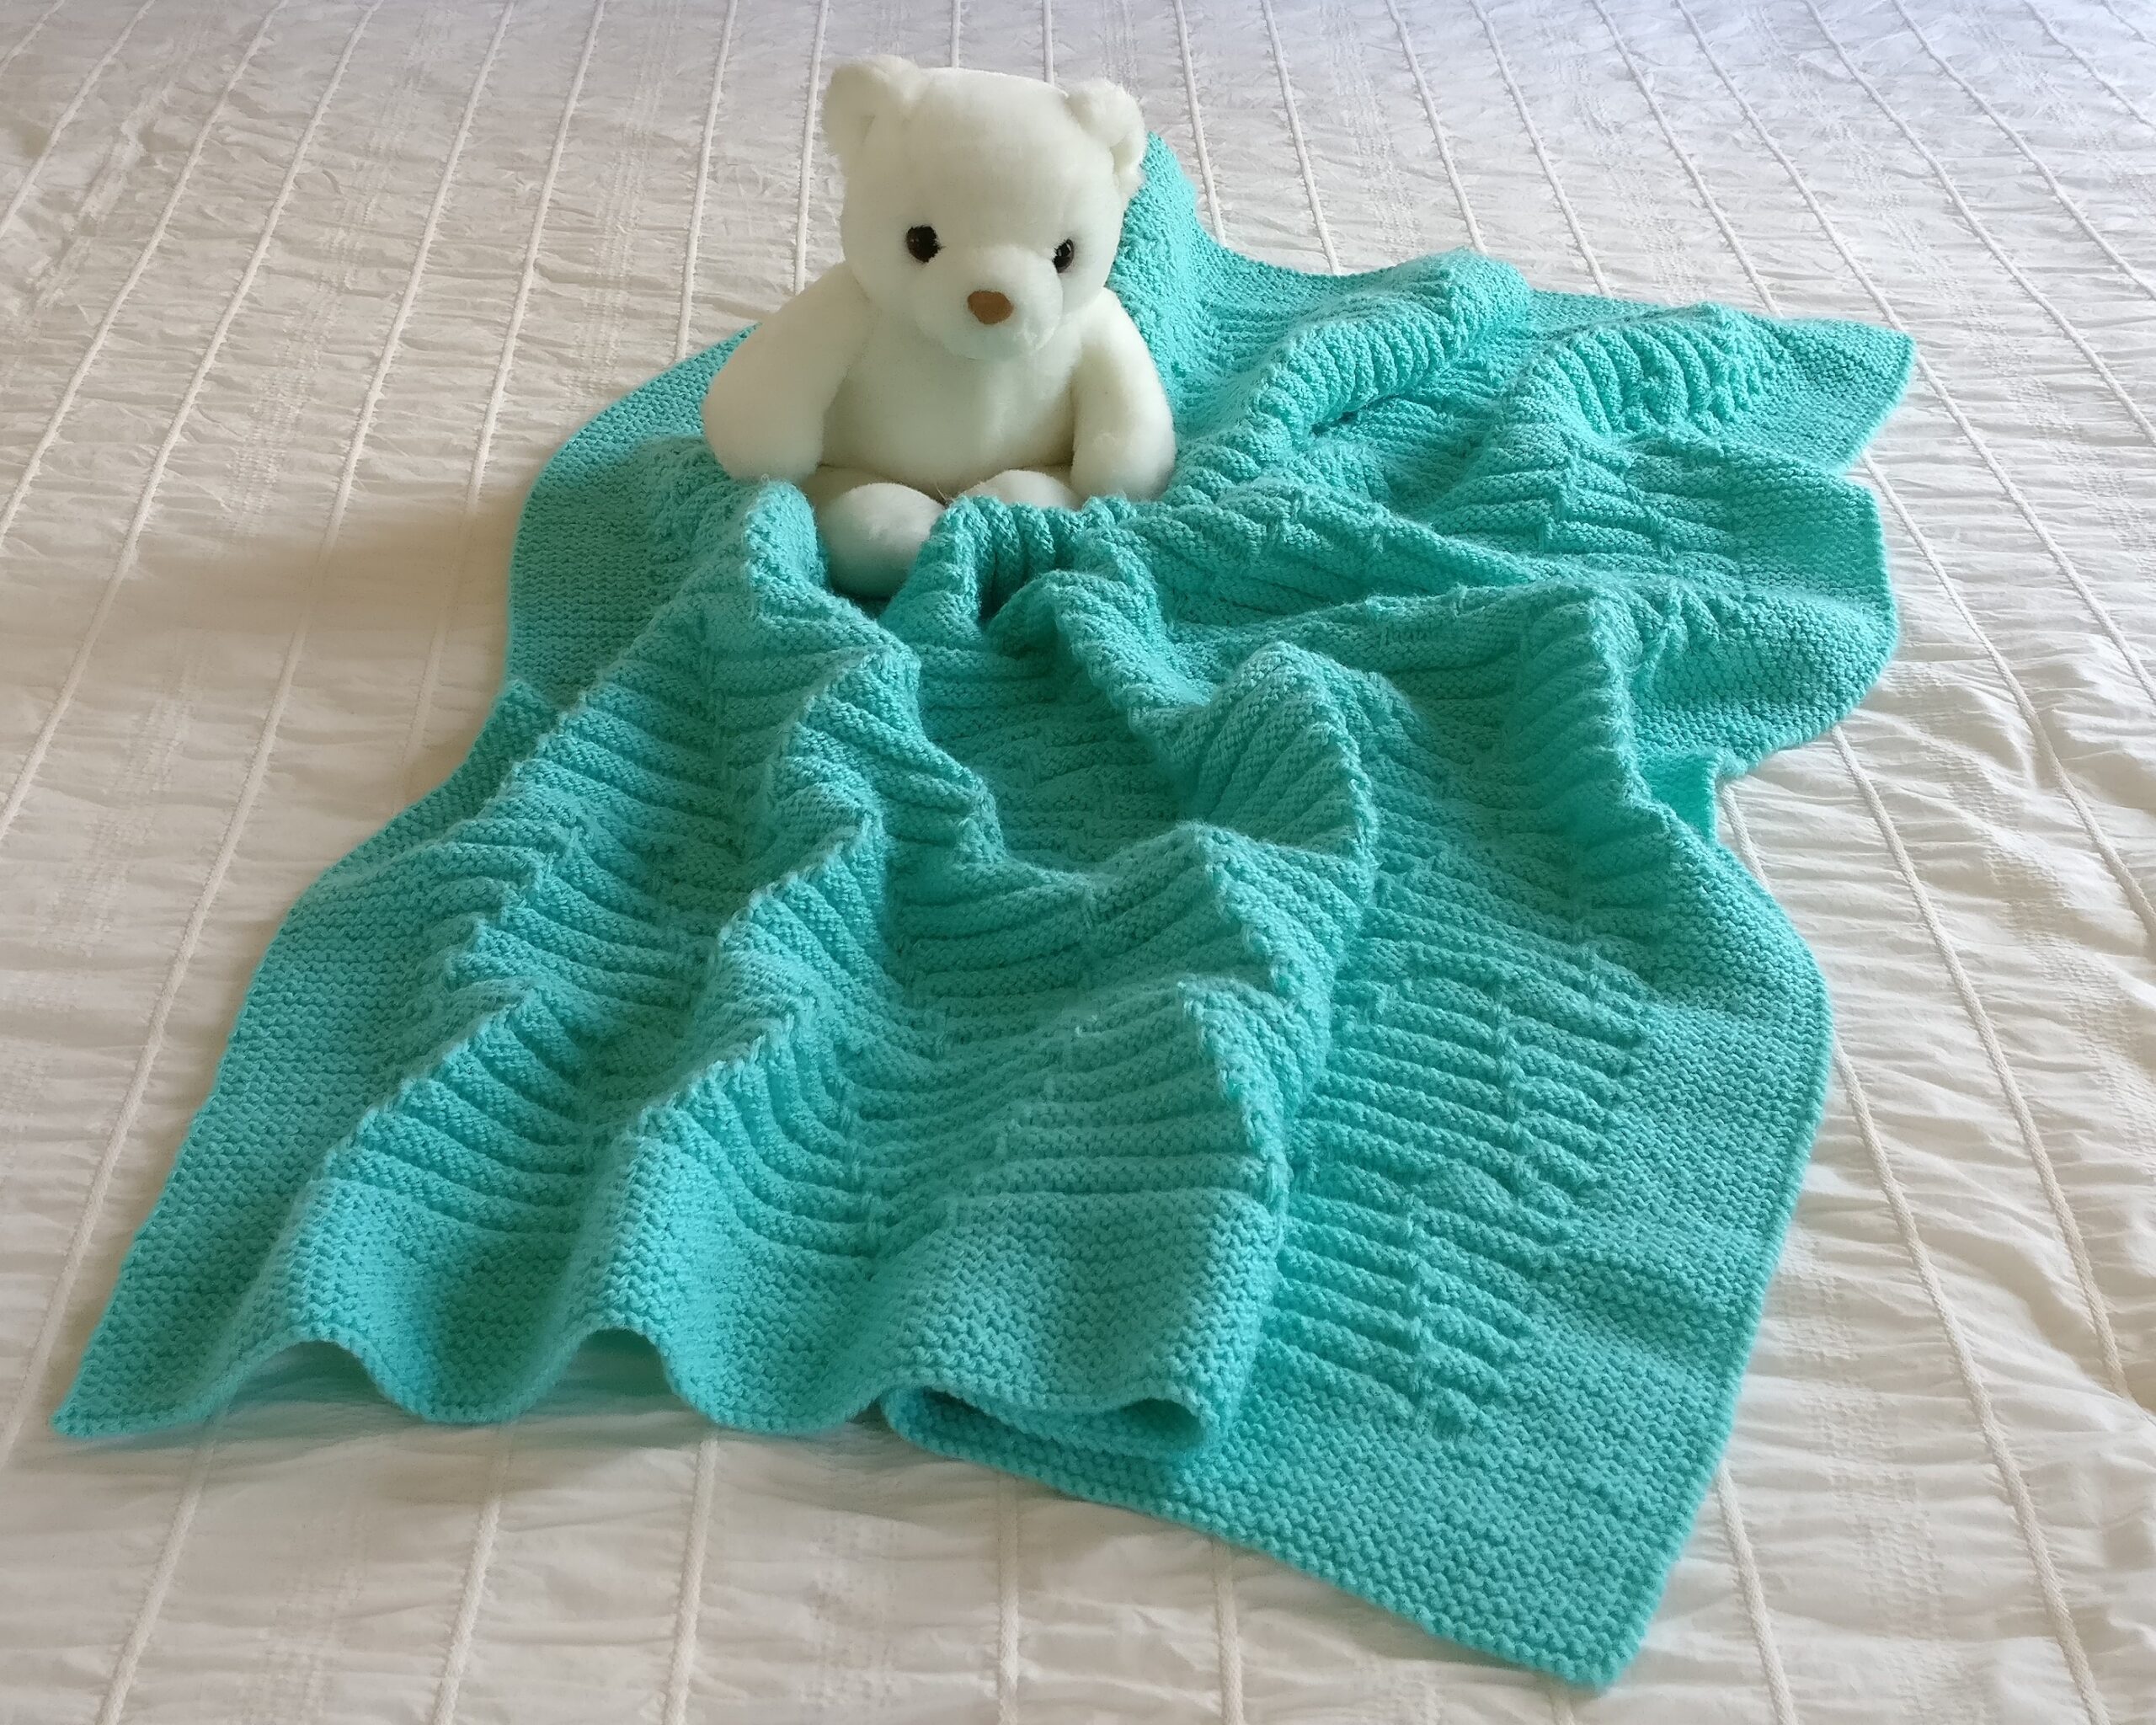
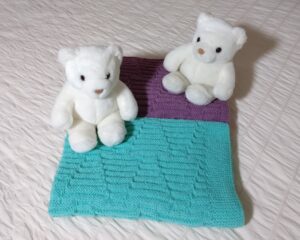
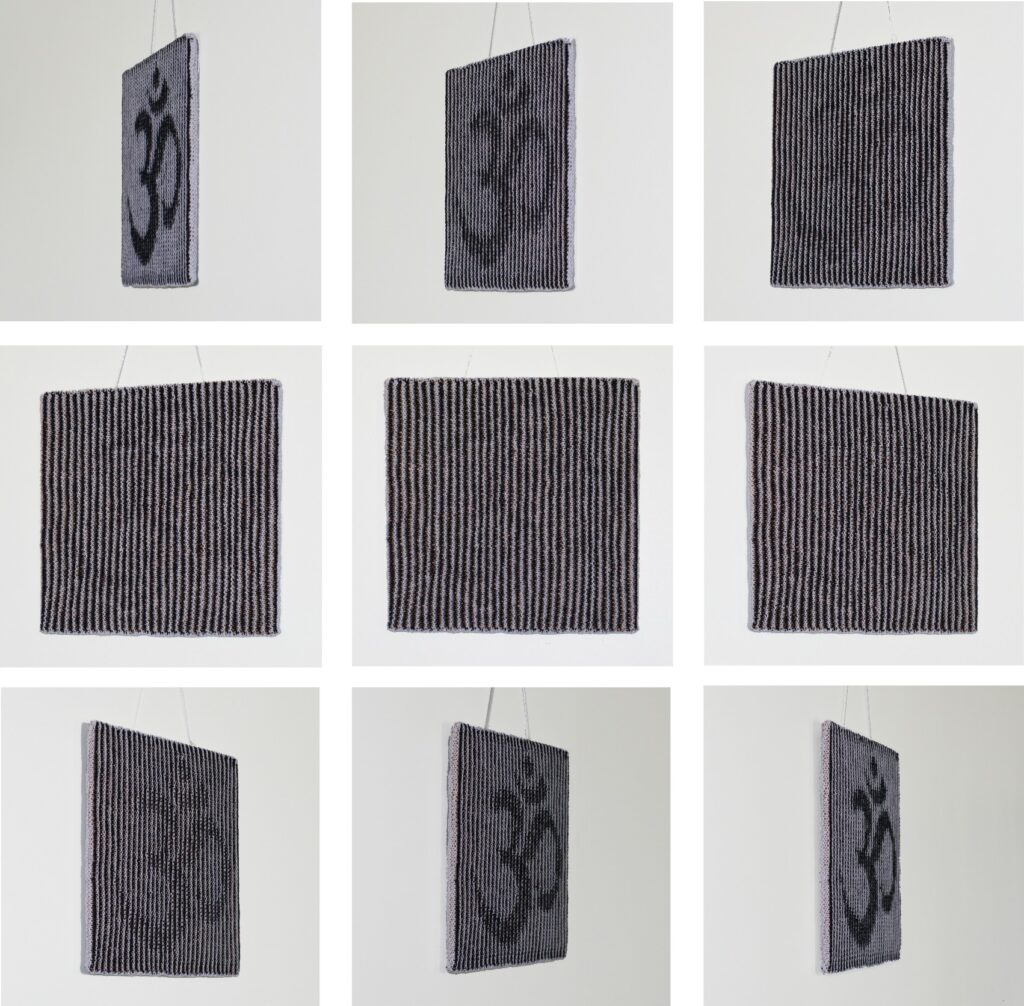
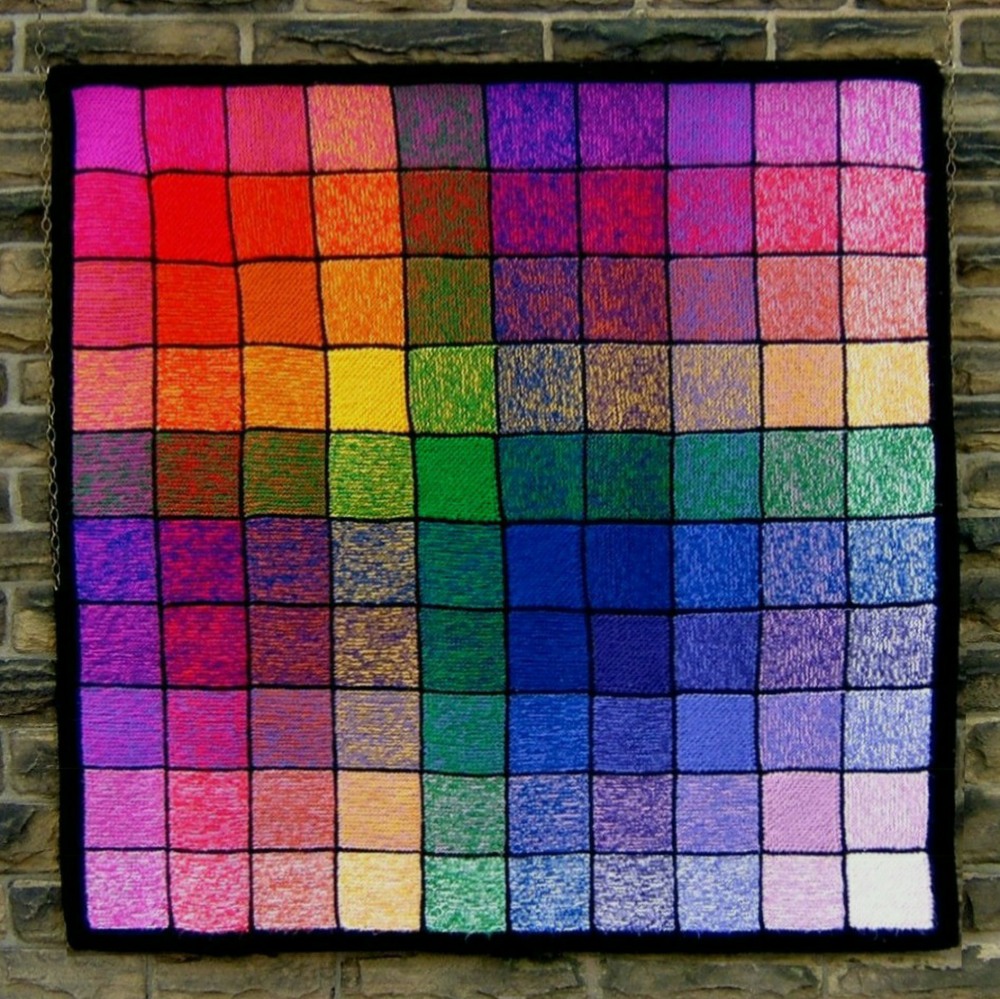
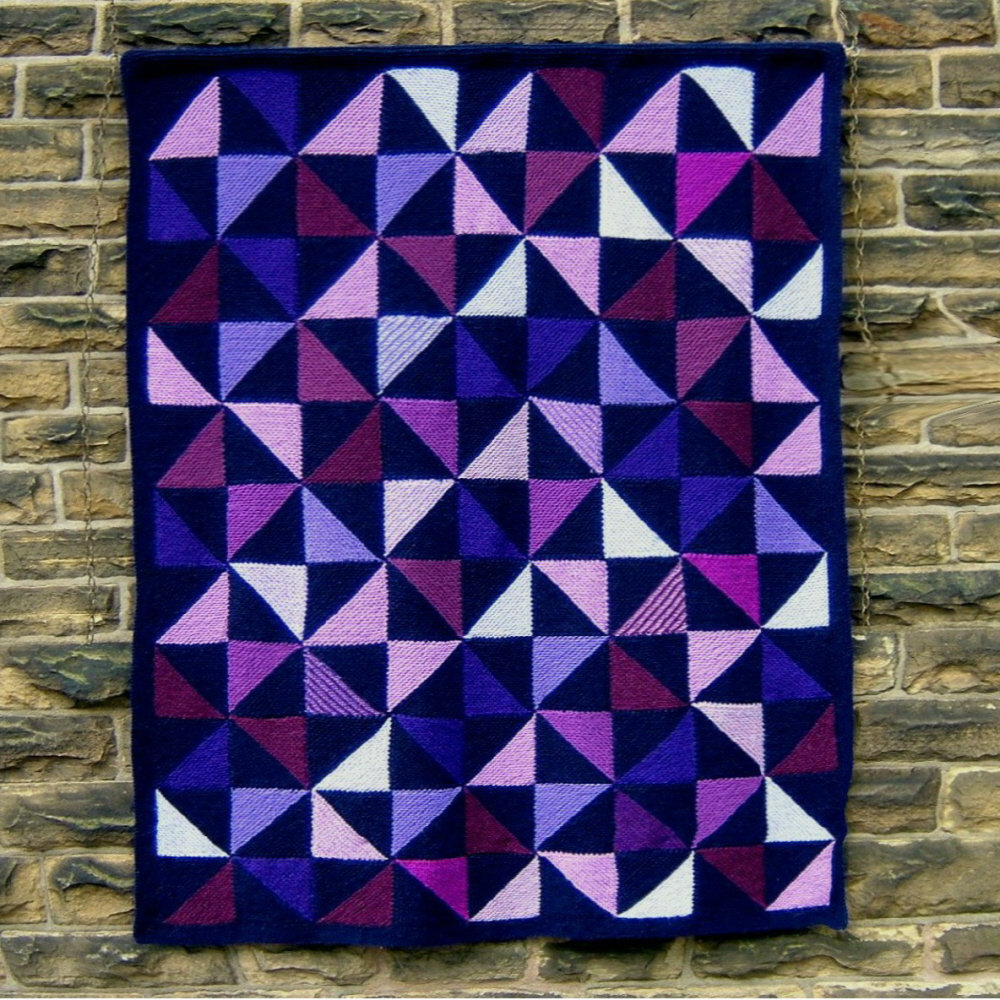
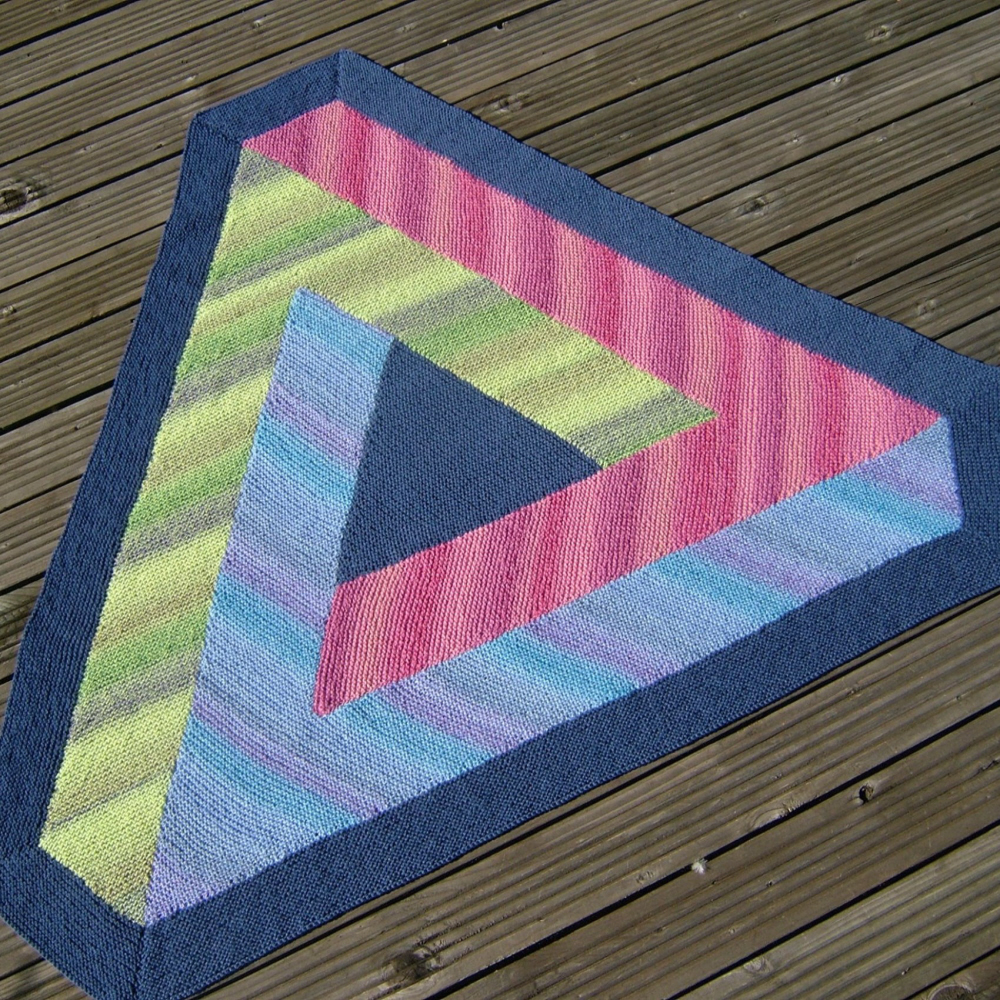
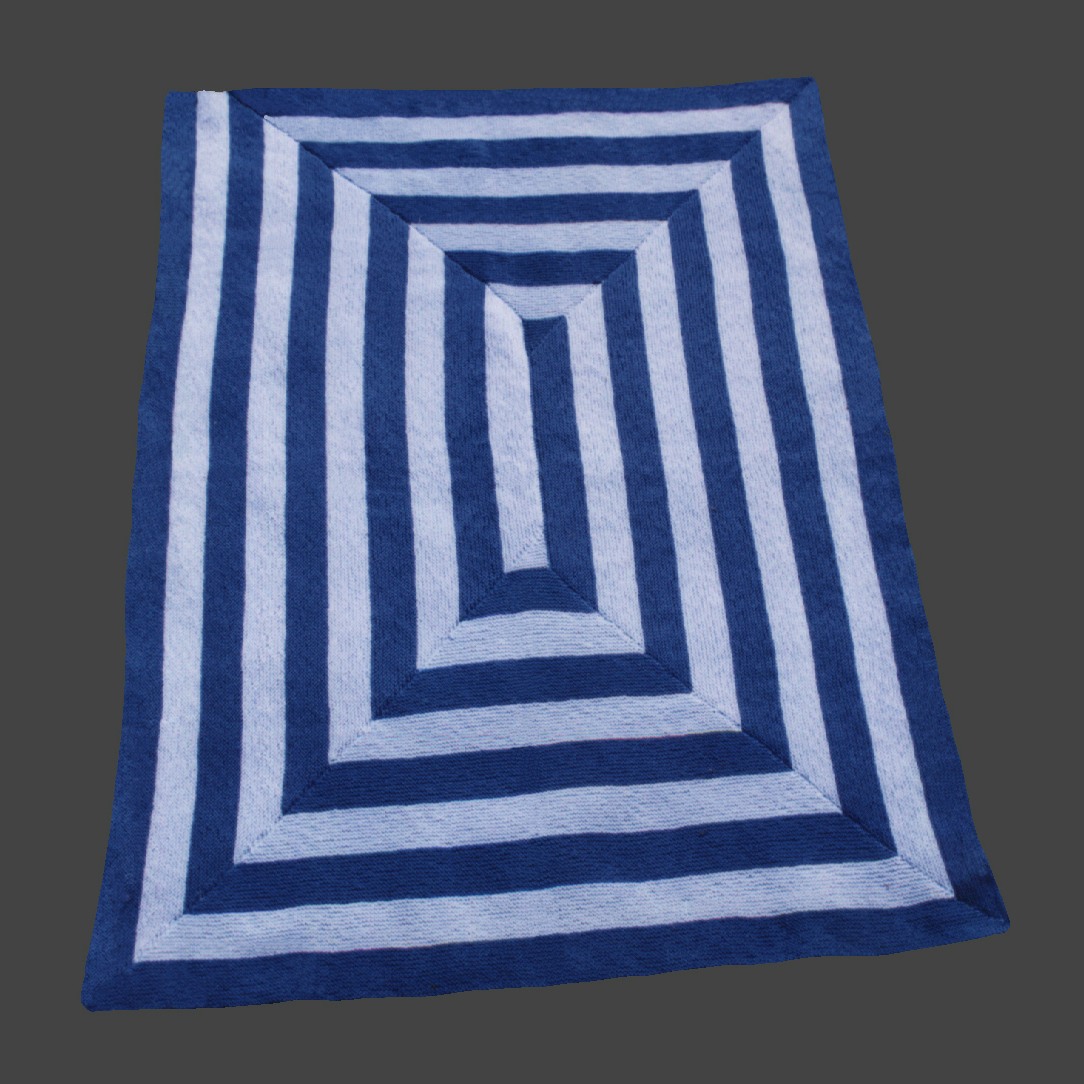
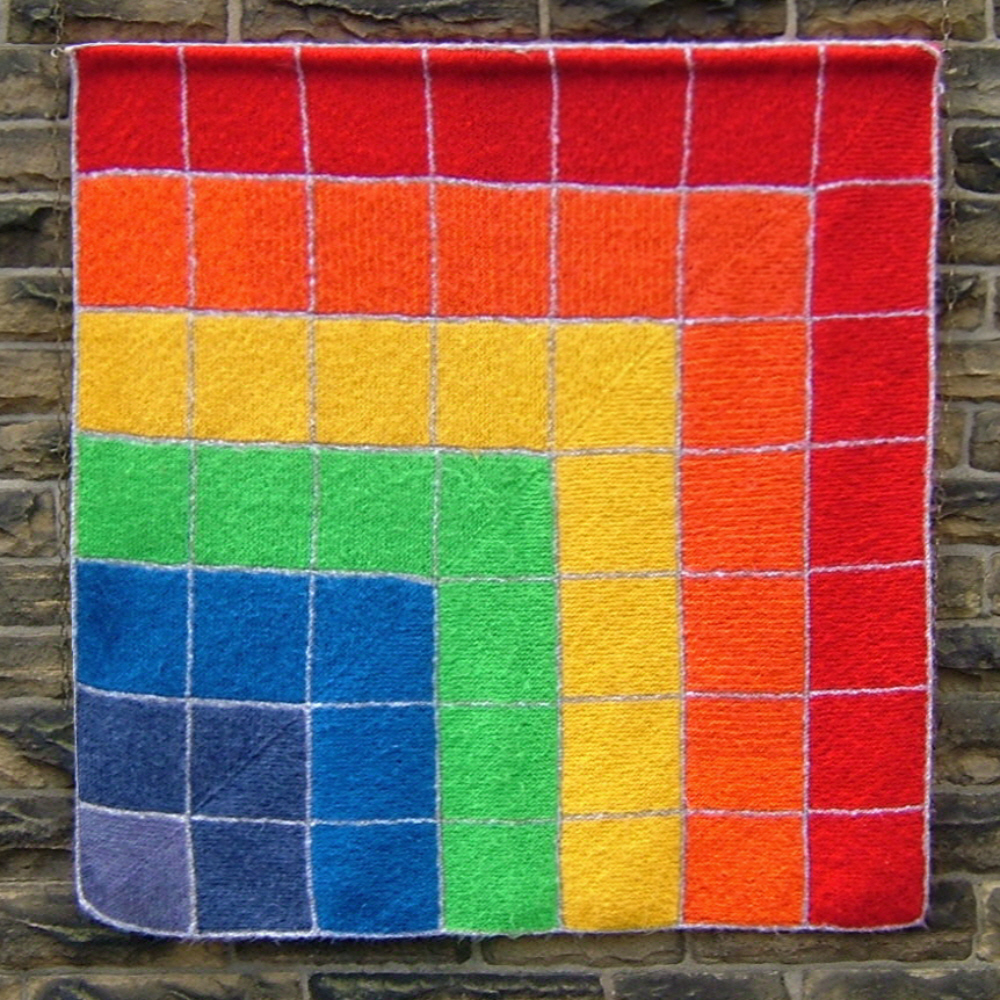
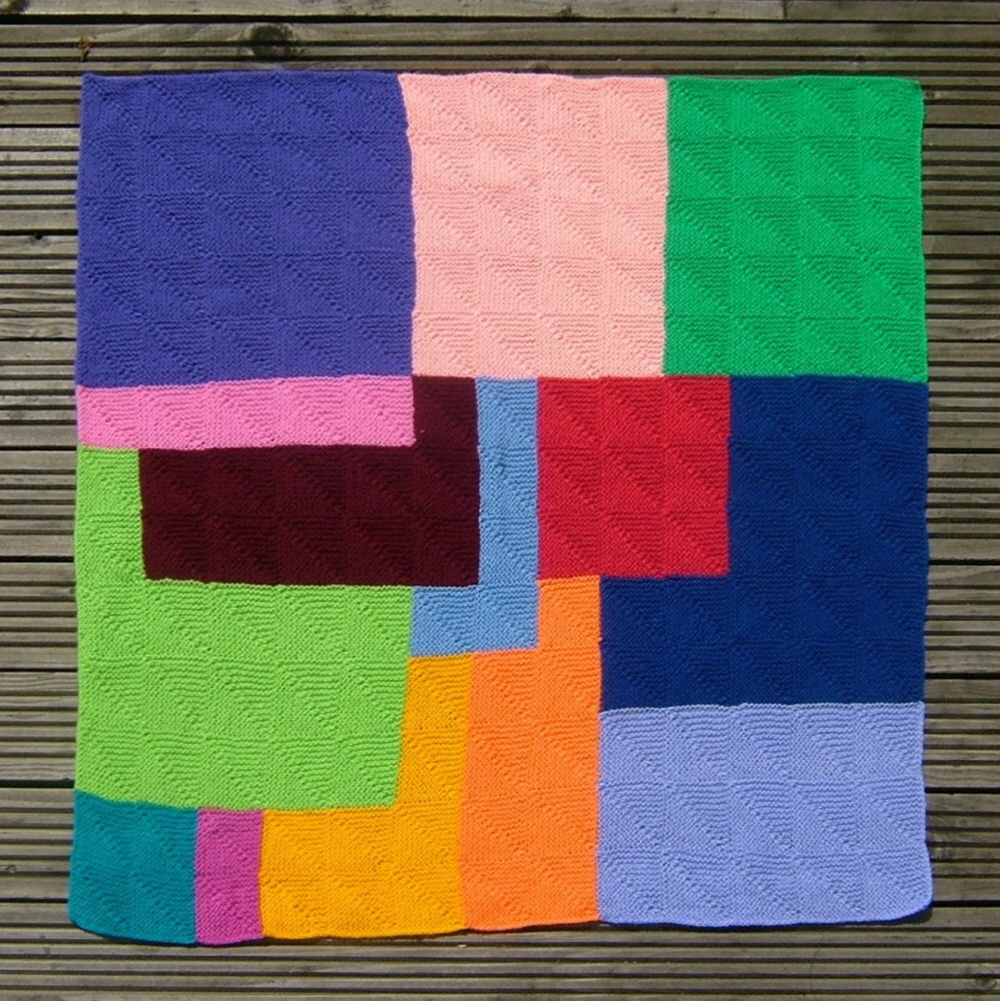
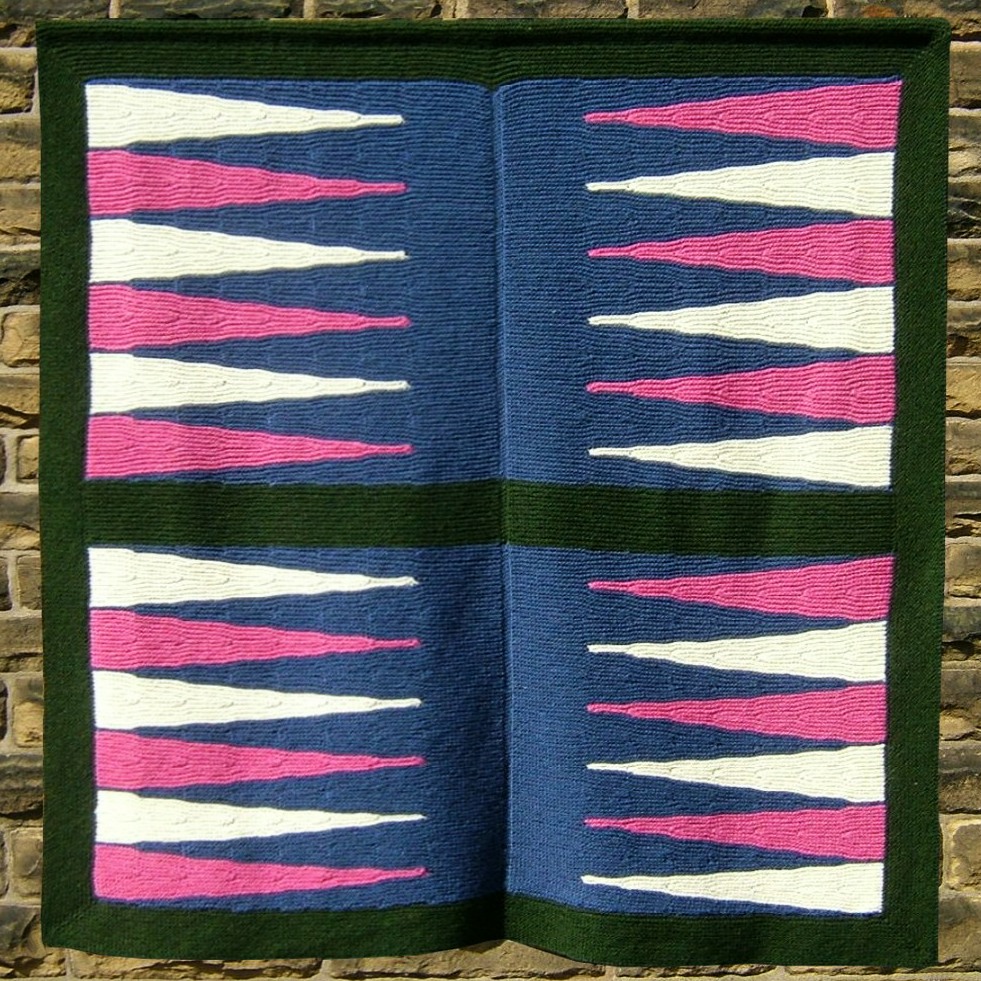
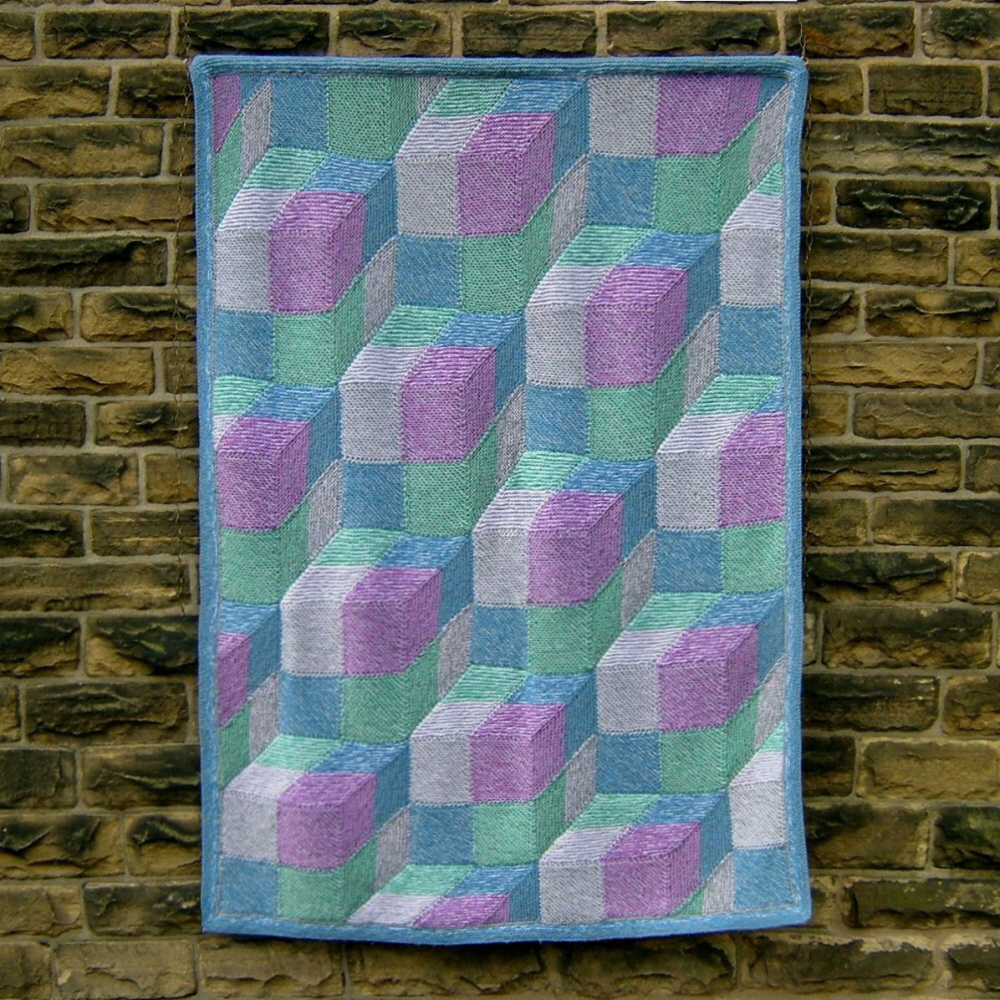
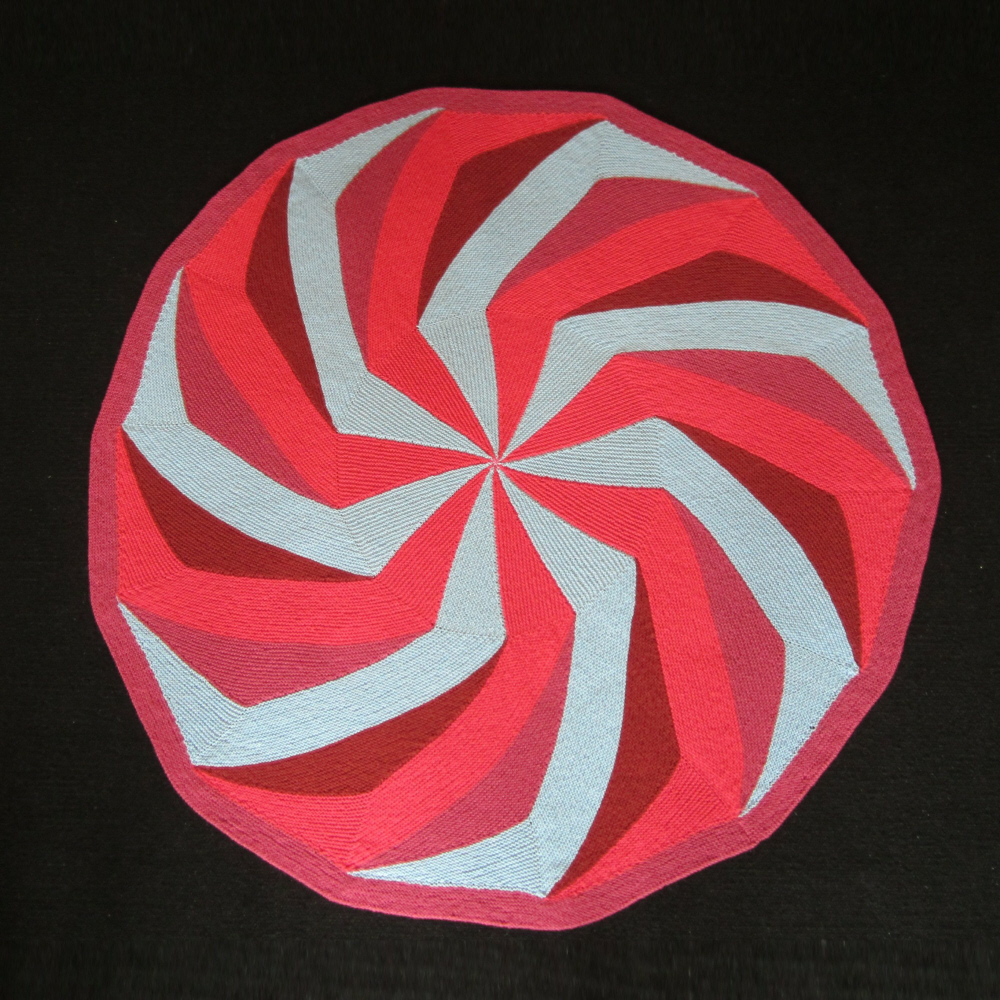
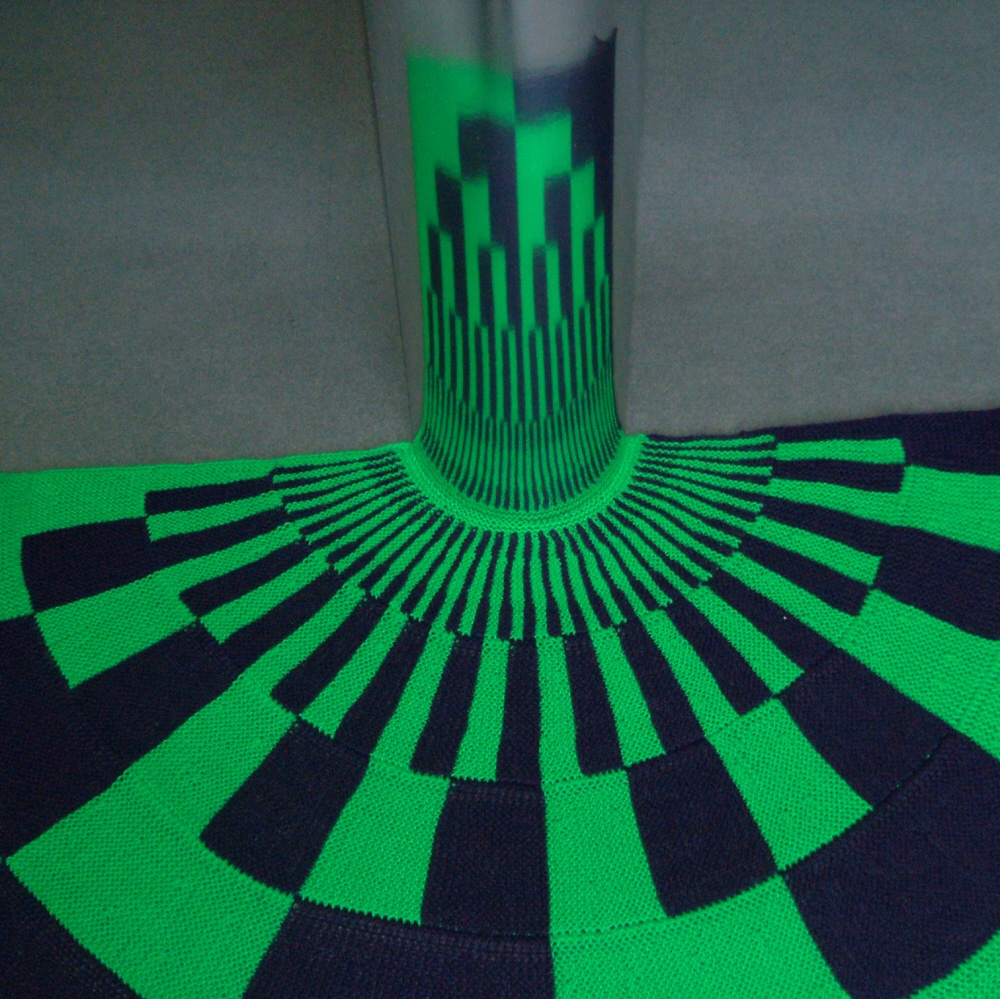
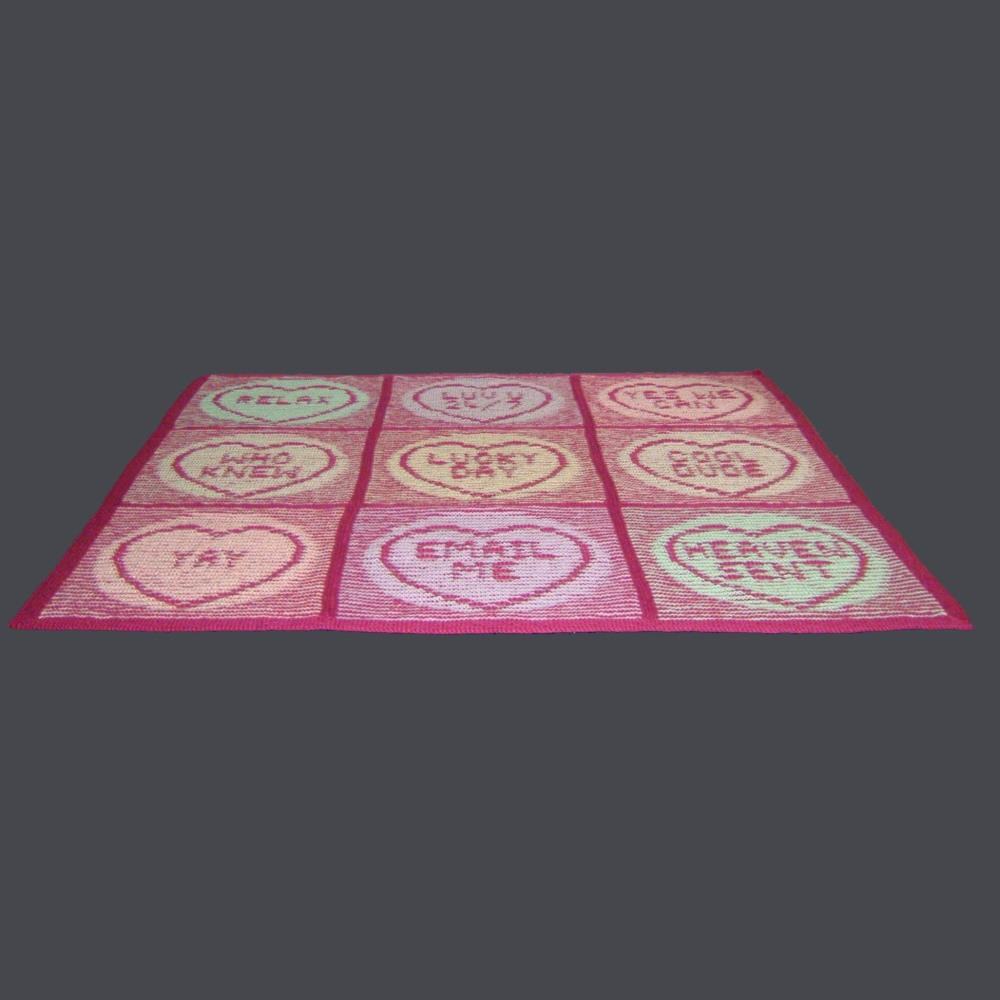
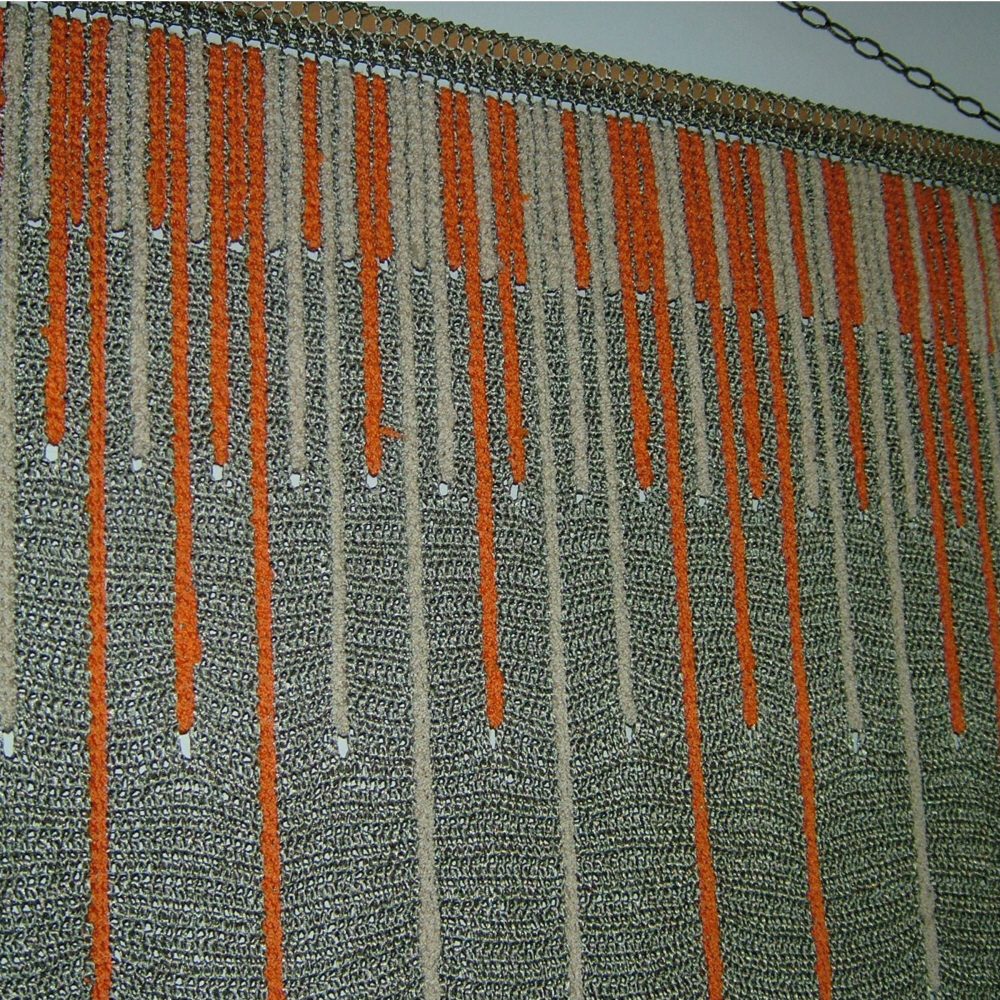
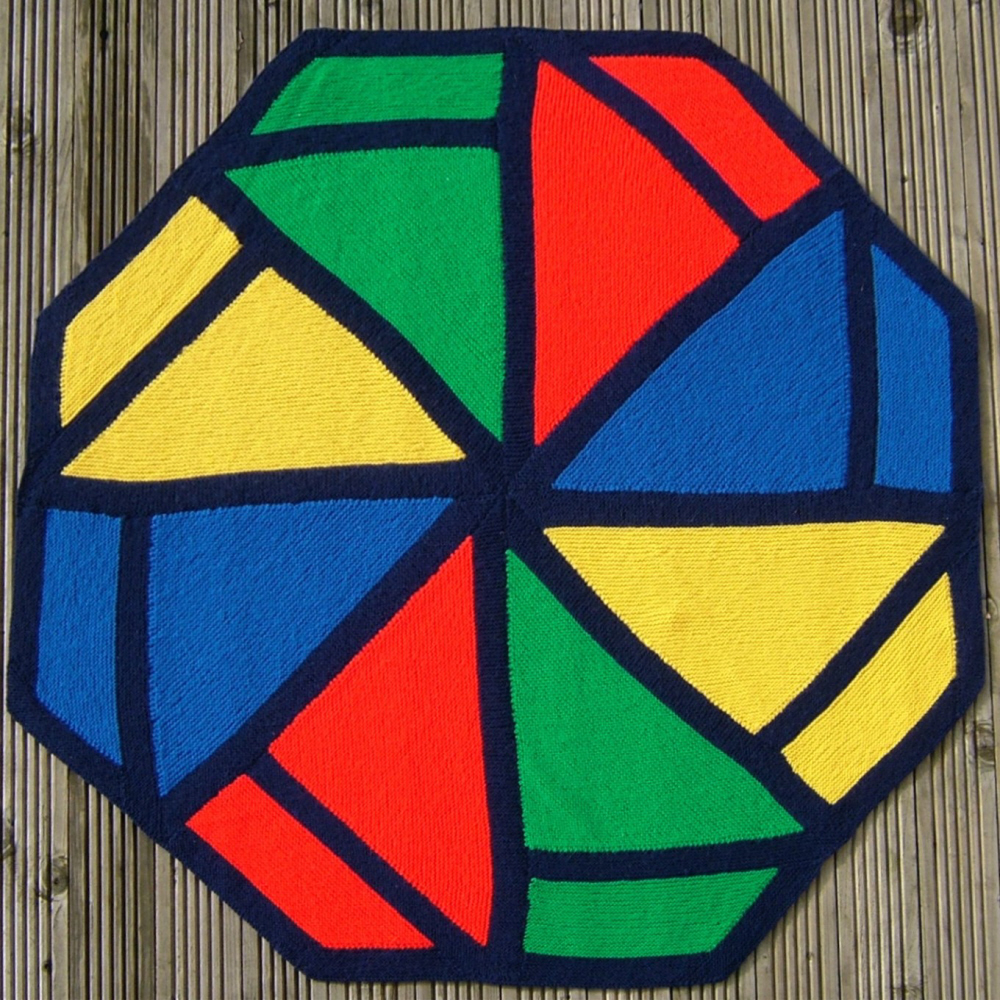
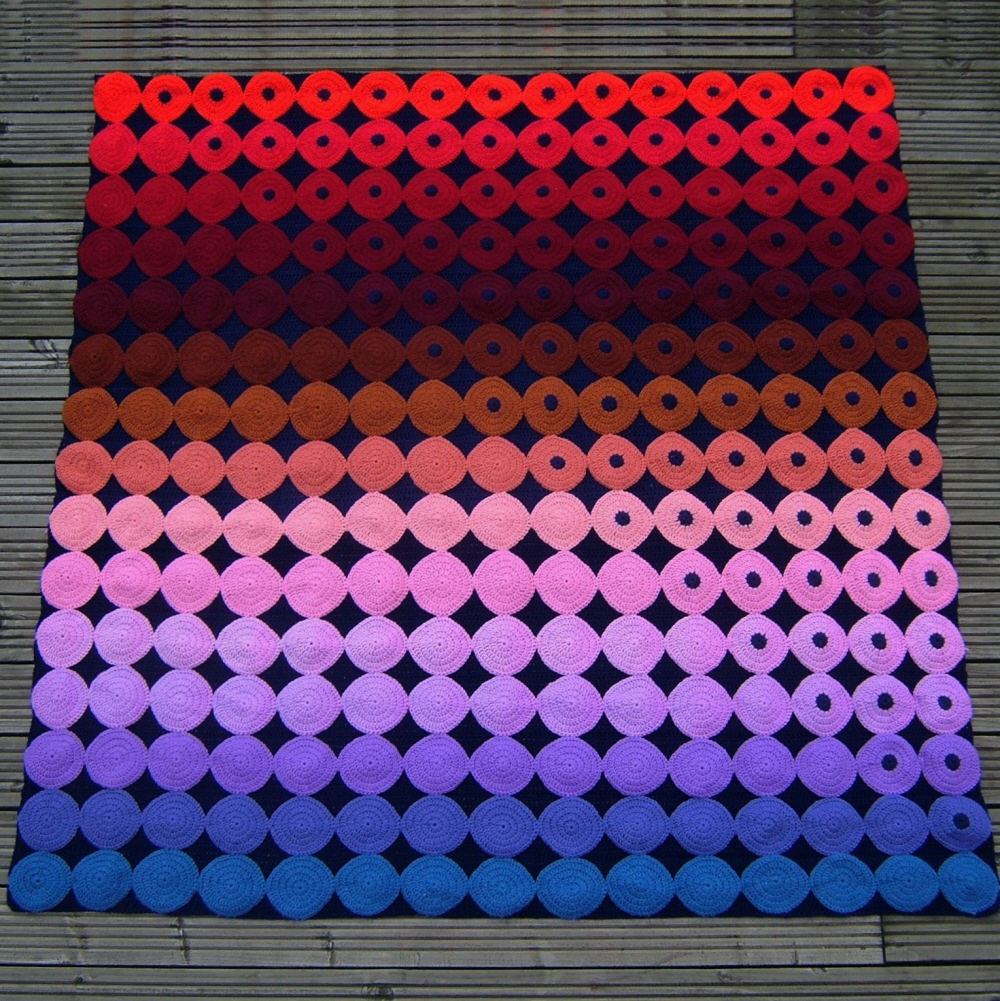
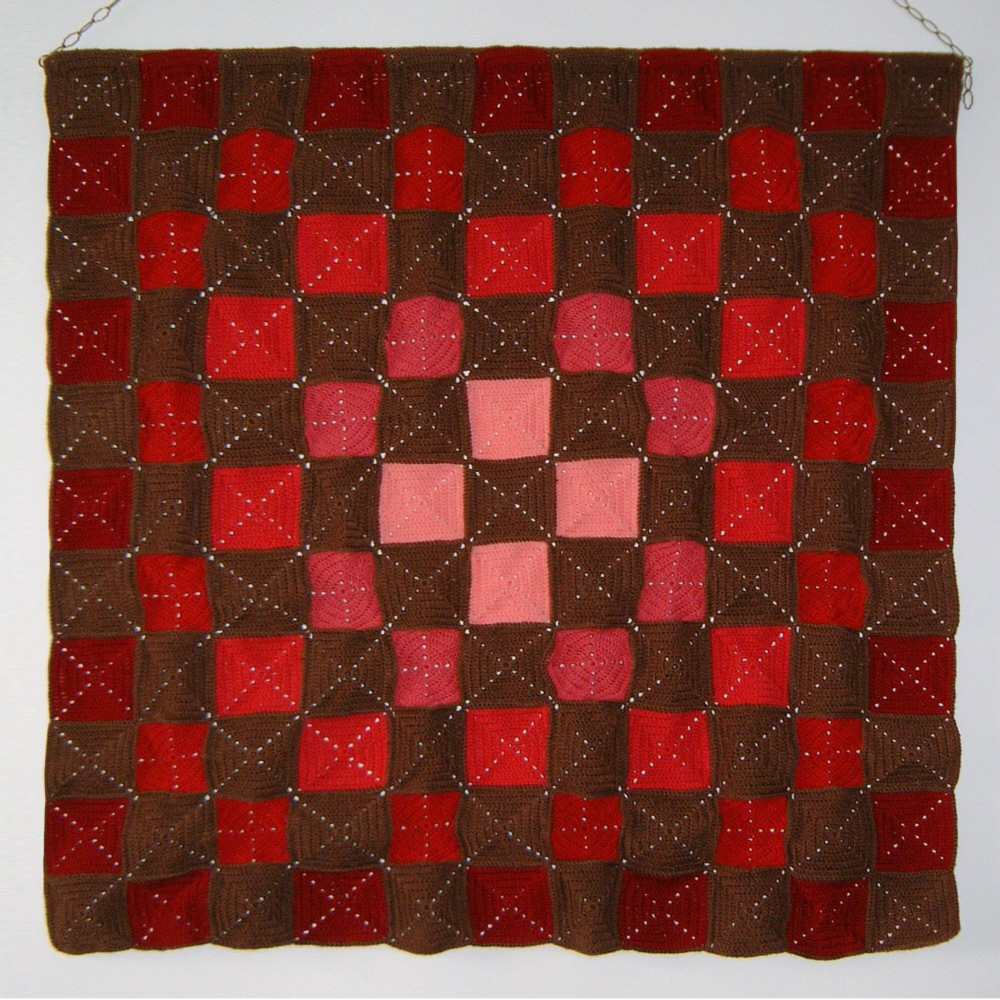
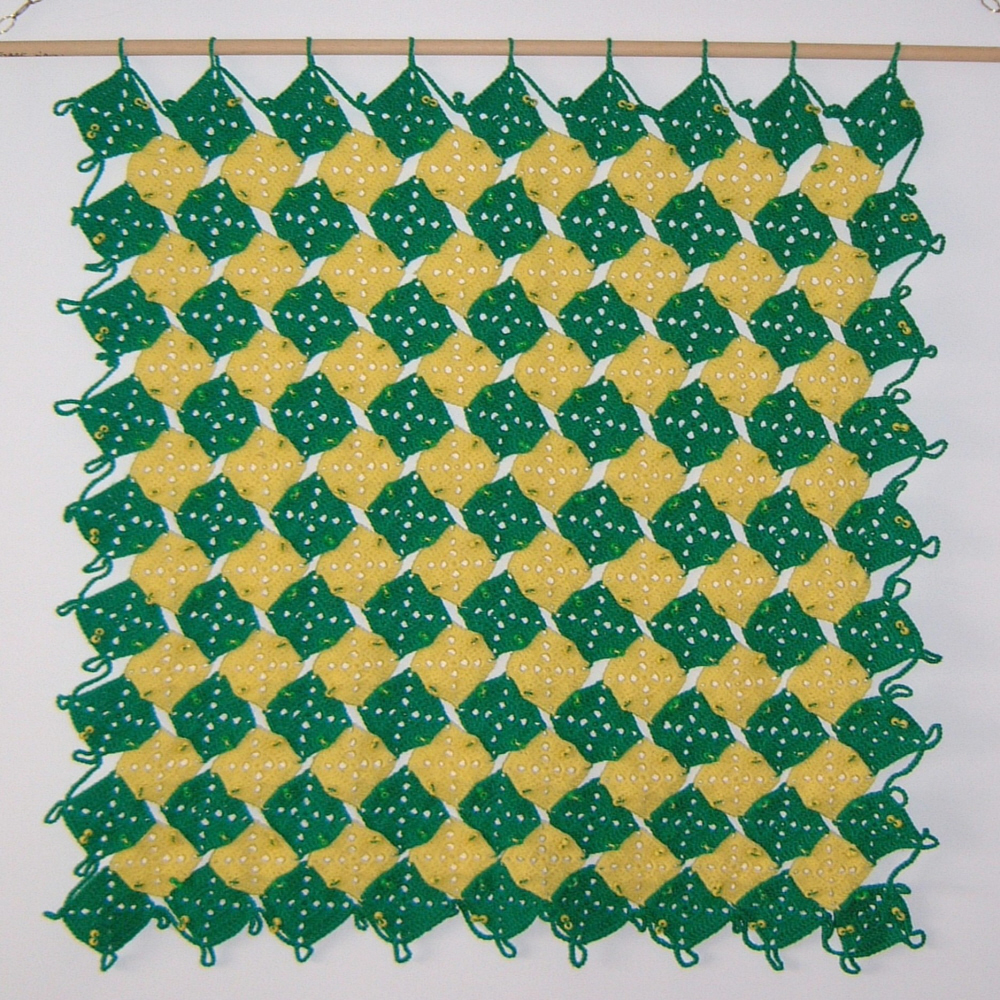
It wasn’t long before we realised that an afghan was the perfect way to represent mathematical ideas. A mathematical concept, or curiosity, could be demonstrated on an almost indestructible, eye-catching wall-hanging. The Woolly Thoughts afghan collection was born and over the years we have created more than 80 afghans. A few have gone to museums and galleries. Some hang on the walls of our Victorian house which we bought specifically because it has big walls. Others are laid out on a trolley to slide under the bed (which had to have its legs specially extended). The rest are stowed in rolls in our workrooms. Sooner or later we will have to find new homes for some of them.

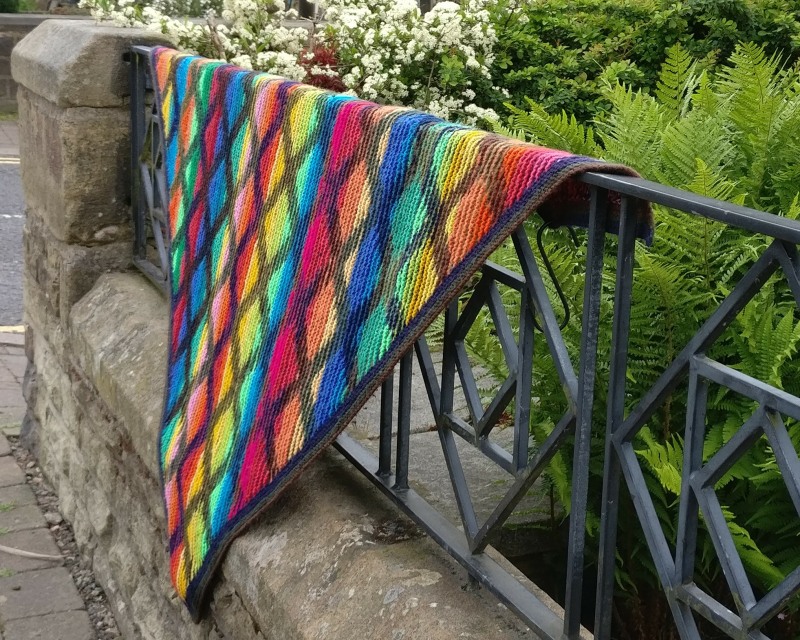
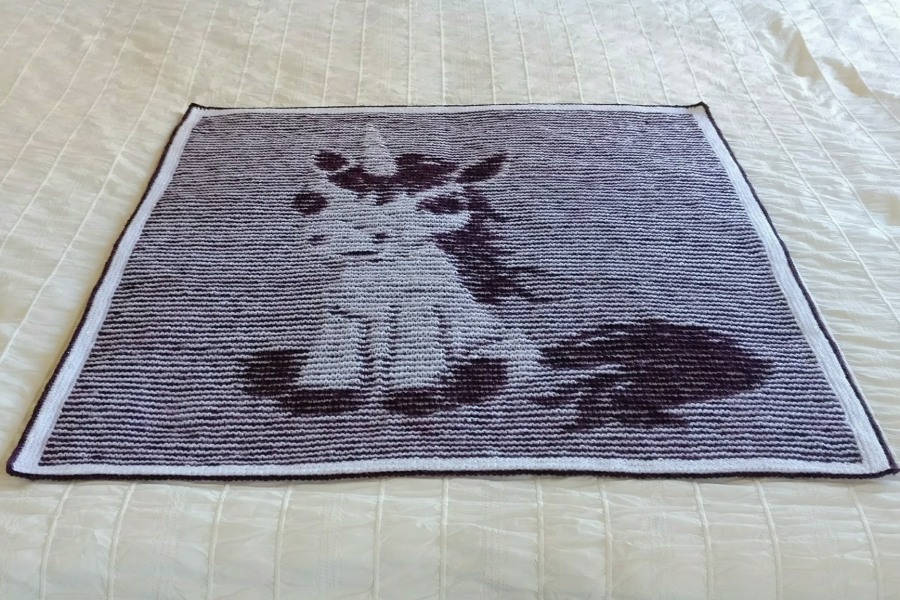
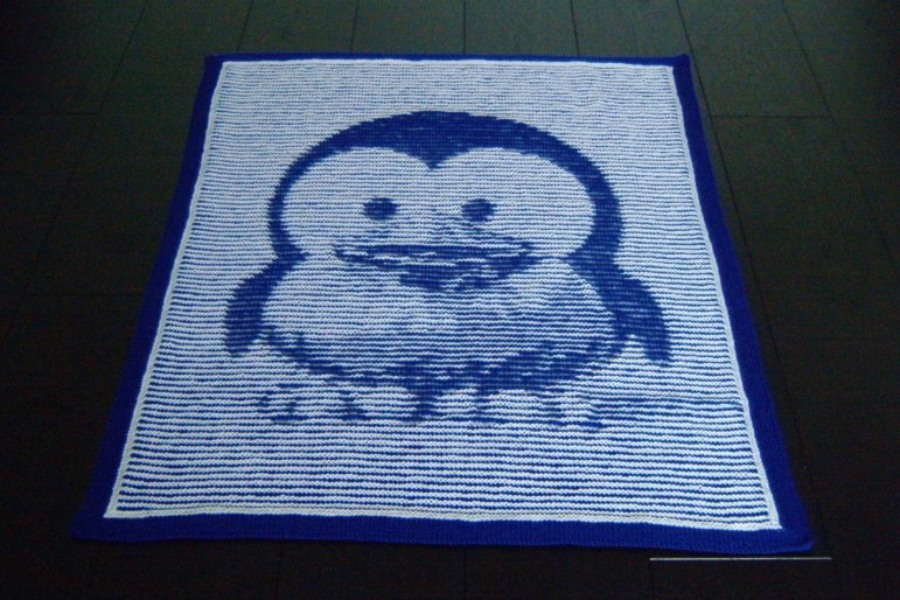
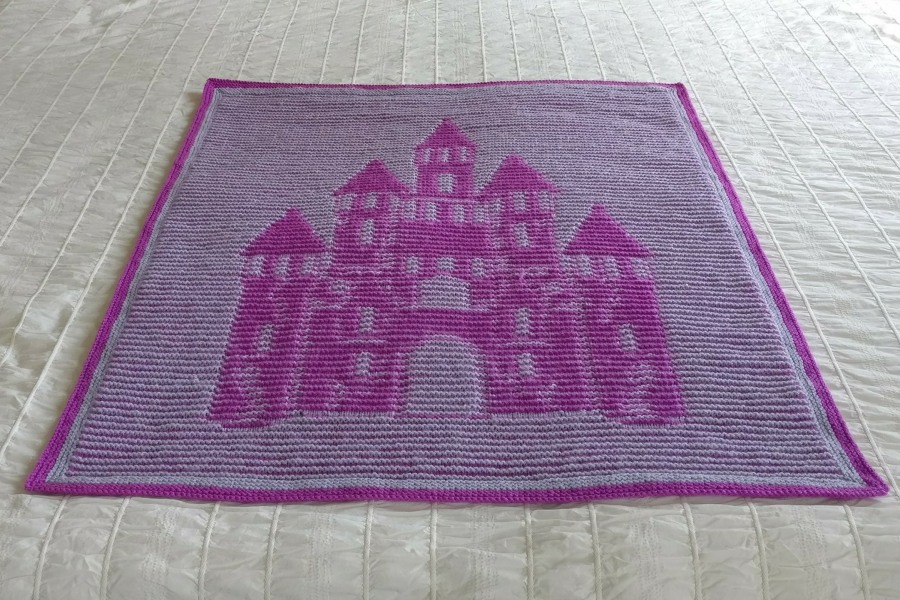
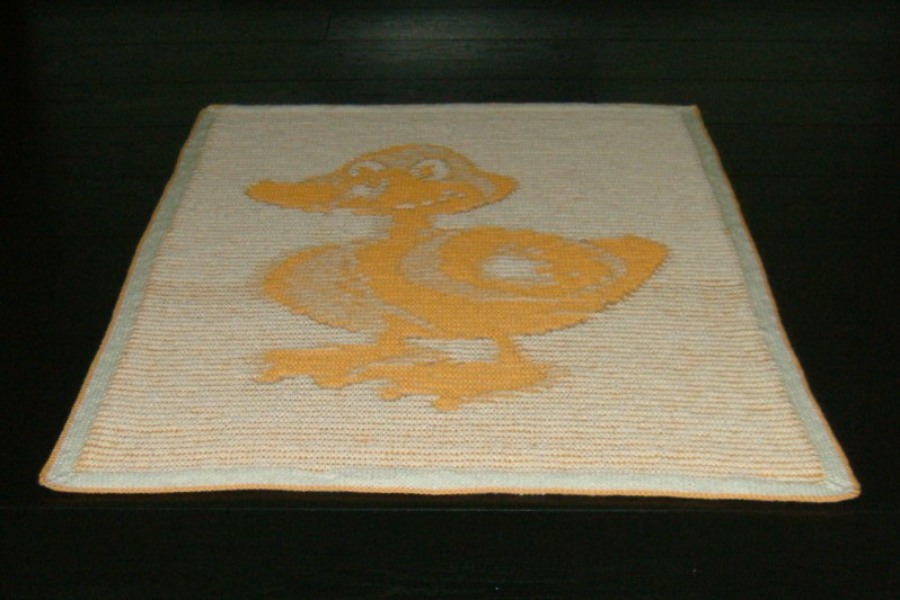
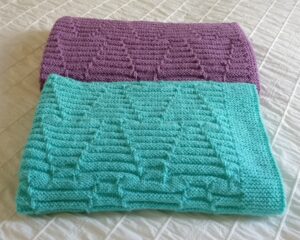
The photos below show most of the afghans. There are links to places where you can see more pictures, read a brief description, and buy the pattern. Every afghan has a story to tell so there is a link on each one where you can find out more about the idea behind the afghan and how it came about. The pictures are loosely arranged in the order of their popularity over the years. Some of the popular, newer, afghans are far down the page. Some of the photos are very old and not of very good quality.

Basketweave

Ravelry
Payhip
LoveCrafts
Afghan Story

Wreck Tangled

Ravelry
Payhip
LoveCrafts
Afghan Story

Points of Departure

Ravelry
Payhip
LoveCrafts
Afghan Story

The Long and Winding Road

Ravelry
Payhip
LoveCrafts
Afghan Story

Some Square over the Rainbow

Ravelry
Payhip
LoveCrafts
Afghan Story

Code Comfort

Ravelry
Payhip
LoveCrafts
Afghan Story

From Square to Eternity

Ravelry
Payhip
LoveCrafts
Afghan Story

Bi-focal (Anamorphic)

Ravelry
Payhip
LoveCrafts
Afghan Story

Chromatic Scale

Ravelry
Payhip
LoveCrafts
Afghan Story

Square Snowflake

Ravelry
Payhip
LoveCrafts
Afghan Story

Under Orders

Ravelry
Payhip
LoveCrafts
Afghan Story

Take Five

Ravelry
Payhip
LoveCrafts
Afghan Story

Bunch of Fives

Ravelry
Payhip
LoveCrafts
Afghan Story

Ring-road (Anamorphic)

Ravelry
Payhip
LoveCrafts
Afghan Story

Mere Bagatelle

Ravelry
Payhip
LoveCrafts
Afghan Story

Try Angulate

Ravelry
Payhip
LoveCrafts
Afghan Story

Surface Tension

Ravelry
Payhip
LoveCrafts
Afghan Story

Four Corners

Ravelry
Payhip
LoveCrafts
Afghan Story

Pythagorean Ripples

Ravelry
Payhip
LoveCrafts
Afghan Story

Point to Point

Ravelry
Payhip
LoveCrafts
Afghan Story

Half Measures

Ravelry
Payhip
LoveCrafts
Afghan Story

Flatland Lock

Ravelry
Payhip
LoveCrafts
Afghan Story

Reversing Illusion Knitting

We are often asked why Woolly Thoughts illusion patterns are arranged in the way they are. This post will attempt to answer the most frequently asked questions.

Illusion knitting works by knitting alternate ridges in two different colours. A ridge is two rows of knitting. Each horizontal stripe on the chart is one ridge of knitting.

In all Woolly Thoughts patterns the first row of each ridge (right-side of work) is always knit. The chart is only used for the wrong-side rows. All coloured-in squares are knit stitches. All empty squares are purl stitches. The chart is read from left to right.

In this basic chart for a letter R, the first ridge is worked in the dark colour. The right-side is knit; the wrong-side shows all purl stitches.

The second ridge is worked in the light colour. The right side is knit; the wrong side is also knit (because all the stitches are coloured-in).

At Ridge 6 (light) the wrong side row shows k10, p3, k6, p3, k10.
Ridge 7 (dark) shows p10, k3, p6, k3, p10.

What happens if the chart is used from right to left?

  • The sample on the left is what you get when you work from left to right. It is exactly what you see on the chart. This explains why all our charts are constructed this way.
  • The sample on the right shows what happens if you work from right to left on the chart.

Reversing the colours
The following two samples show what happens when you knit both in the usual way but reverse the colours. We always refer to the colours as Light and Dark. Sometimes it is difficult to decide which of your colours is light and which is dark but the chart shows you which colour will stand out in your knitting.

  • The sample on the left shows the colours exactly as they are in the chart.
  • The sample on the right shows the colours swapped over. The dark colour is now worked with the lighter yarn and the light colour is worked with the darker yarn.

Reversing all stitches
Occasionally people ask what happens if you choose to purl the first row of each ridge instead of knitting it. The samples below show that the result is almost identical. I found that my purled version (on the right) was not quite as pronounced as the knit version. I suspect it might be that my purling is slightly tighter than my knitting and this makes the ridges a bit flatter.

To use this method all the stitches have to be reversed. On the second row of each ridge the coloured in squares should be purled and the empty squares should be knitted. The purl row as the first row of each ridge means it becomes the wrong side of the work. The second row is then worked from the chart on the right side of the knitting and is worked using the chart from right to left so the knitting looks exactly like the chart.

Looking from above
Illusions can only be seen when they are viewed from an angle. They are extremely difficult to photograph. In the right light the image should disappear. The R shape is very bold and does not disappear completely in this photo but you can see that all four versions look the same when viewed from overhead.

Edit
I just remembered that we addressed similar issues last year when someone asked what left-handed knitters should do. For many designs it does not matter if the completed work has the design reversed. It is important for others, especially lettering. We produced simple instructions for checking whether the results are as expected.
Download Am I doing it right?

Illusion Shawls

I have now collected together all our current illusion shawls patterns. Some of these have ‘pictures’ like our illusion art. Others have colour effects that form patterns, not pictures. Some people would describe these as shadow knitting. It is difficult to draw a line between illusion knitting and shadow knitting.

As with all illusion knitting, when you look straight at the knitting you only see narrow stripes. Most of these shawls have the stripes running vertically. A few have a clever construction that results in stripes that form right angles.

Several of our illusion art patterns are also suitable for converting to shawls.

Click any of the links for more photos or to buy the pattern.

Illusions of Grandeur

Ravelry
Payhip
LoveCrafts

Harry Potter – Deathly Hallows

Ravelry
Payhip
LoveCrafts

Illusive Butterfly

Ravelry
Payhip
LoveCrafts

Praying Hands

Ravelry
Payhip
LoveCrafts

Rubeus Hagrid

Ravelry
Payhip
LoveCrafts

Flying Dragon

Ravelry
LoveCrafts

Illusion Baby Blankets

Over the years Steve has designed several illusion knitting baby blankets. When you look straight at the knitting you only see narrow stripes, in two colours. The image appears when you look from an angle. Illusions are notoriously difficult to photograph. They are much more impressive in real life.

Most of the blankets are designed to be viewed from the bottom. A few are viewed from the side. You cannot simply knit the design in the opposite direction. It has to be designed with the finished view in mind.

The blankets measure approximately 80 cm x 100 cm (32” x 40”), when made with DK yarn and use less than 600 grams in each of the two colours.

Click any of the links for more photos or to buy the pattern.

Menger & Sierpinski

This is a Menger Sponge. It is made from plastic canvas.

A Menger Sponge is a 3D fractal. It is named after Karl Menger. The basic idea is that you take a cube and remove a square tunnel from the centre, in all three directions; then you remove a square tunnel, in all directions, from the cubes you have left. Theoretically you can keep on doing this to infinity. The volume gets increasingly small; the surface area gets increasingly large.

In 2014 Steve, Ben and I were involved with the MegaMenger project, which used business card-size pieces to make small cubes which were joined together to make various levels of sponge. If you want to know the details go to the web site where you will find information from round the world.

At the time I decided to make a small pastic canvas version. It proved to be very challenging. I could not make a complete face in one piece because of the complications of what happened on the inside. There are 20 cubes in the finished sponge and each of those has a cross-shaped piece inside to form the smallest holes. Trying to build up a shape that is based on holes is not easy. Joining the cubes together is also tricky when some parts need to be joined inside. There are 120 6 cm squares and 480 2 cm squares and the whole thing is much heavier than you might imagine.

One advantage of plastic canvas is that it is easy to use different colours on different faces. The colours effectively show where the various holes are.

The card version was made as part of the Science Festival at the Manchester Science and Industry Museum. It was made from specially printed cards. Some of the ‘holes’ are not really holes. They are printed on the cards. As you can see in this construction photo, interior faces which could not be seen, were left blank.

One large cube was assembled in Manchester. Others were made in various parts of the world but, of course, they could never meet to form the next size cube.

The reason that this has come into my mind again now, some six years later, is that, a few weeks ago, Ben and I were having a conversation with Katie Steckles at an online Maths event and she had been thinking about trying to knit a poncho inspired by the Menger sponge (Katie was one of the Megamenger organisers and can be seen in the photo.)

What Katie was wanting to knit was something like one face of the cube. Confusingly, the 2D (flat) version is called a Sierpinski carpet although many people are more familiar with this term referring to triangles with triangular holes.

She had bought yarn, in several colours, but was unsure about how to knit square holes. At the time we tried to explain in words and I started to create a diagram labelled ‘cut the yarn here’, ‘join here’, etc. Ben took a more practical approach and started to knit a miniature version. A poncho can be worn with a straight edge at the front or a point hanging down. Similarly it can be knitted horizontally or diagonally. Ben opted for the diagonal method and created the small pink version there and then. Because Katie had been talking about multiple colours he then went on to a multi-coloured version though I don’t think this was what Katie had in mind.

This is what he said about it himself:
A third order Sierpinski Carpet knit diagonally in garter stitch.

It is made up of 74 pieces, using oddments of yarn.
It does not require any sewing, picking up of stitches or transferring stitches between needles. Only one ball of yarn is attached at any time so there is no problem with multiple strands getting tangled.

Each piece starts with a front-side knit row, which is why on the bottom-most row of each piece there is a clean change from the previous colour. Each piece ends with a front-side knit row and the next colour takes over from it on the back side, which is why on the top-most row of each piece there is a messy change to the next colour.

It soon becomes obvious that the holes will be a problem in a poncho. The biggest hole is always one third of the height and width of the finished piece.

This little fat penguin has a very wide head and neck and is as wide as he is high. The poncho fits over his head but would probably slide down on a human shape. Some of the other holes are also very big.

A small poncho 90 cm wide would have a neck hole 30 cm wide. The next size holes would be 10 cm which is big enough to accidentally put your arm through.

We also have a Menger sponge which we were given by an acquaintance who goes by the delightful name of Threedy Printers. You will probably be surprised by the result when you slice a Menger sponge diagonally. You will find several interesting photos on the Threedy Printers web site.

In 2017 Sam Hartburn won first prize in the cake competition at a Maths event, for her dissected Menger sponge – and it tasted good.

And here is an illusion knitting version. When you look at illusion knitting from directly in front you only see narrow stripes. The image appears when you look from the side.

Illusion Art

Knitted illusions are extremely difficult to photograph. When you look straight at the knitting the image disappears and you only see narrow stripes. The image is revealed as you move round and look from different angles.

We have recently updated a lot of our photos. These are probably the best we have ever had but they still do not capture the WOW factor you get in real life.

All of the illusions shown below could be thought of as wall-hangings though they could be used in other ways. Some of them are very large as that is the only way the knitting can show fine details. We usually use DK yarns. Illusions work in any thickness of yarn so using a thinner yarn would make a smaller piece.

Click any of the links below the photos to see more (bigger) photos and information – and to buy the pattern.

Girl with a Pearl Earring

Ravelry
Payhip
LoveCrafts
The Three Graces

Ravelry
Payhip
LoveCrafts
Lady with an Ermine

Ravelry
Payhip
LoveCrafts
Marilyn à la Warhol

Ravelry
Payhip
LoveCrafts
Albert Einstein

Ravelry
Payhip
LoveCrafts
Leonardo Self-portrait

Ravelry
Payhip
LoveCrafts
Charlie à la Warhol

Ravelry
Is this just fantasy?

Ravelry
Payhip
LoveCrafts
Green and Pleasant Land

Ravelry
Payhip
LoveCrafts
The Great Pyramid

Ravelry
Payhip
LoveCrafts
A View from The Thames

Ravelry
Payhip
LoveCrafts
Where in the World

Ravelry
Payhip
LoveCrafts
Double Vision Squared

Ravelry
Payhip
LoveCrafts

Squares That Look Round

Ravelry
Payhip
LoveCrafts
Tiger’s Head

Ravelry
LoveCrafts
Creation of Adam

Ravelry
Payhip
LoveCrafts

Home is where the heart is

Ravelry
Payhip
LoveCrafts

Squishy Things

A few months ago I started experimenting with trying to create a particular knitted effect, related to illusion knitting. It didn’t work but I accidentally stumbled into something that became quite addictive.

Most Woolly Thoughts patterns are either illusion or geometric. These two patterns aren’t either yet they have a hint of both.

The first is a baby blanket called AVAVA. It got this name because when you look from either end you will see the same design. It looks like a repeated combination of letter A and letter V. What’s more, it looks almost identical on the back.


It is a deliciously textured blanket with gentle undulations which trap the air and make it warm and cosy. It will lay flat when you want it to but when it is tucked round a baby (or as a lap blanket for an adult) it sometimes forms triangular peaks along the lines of raised stitches. Those stitches are not really raised. It is an illusion. There is nothing but straightforward knit and purl stitches.

I made two blankets then moved on to making ‘hats’. These are extremely versatile hats. They have the same lovely squishiness and they are also very stretchy so can be deformed to wear in a variety of ways.

The hat with the star top is my favourite. It is made from 50 grams of any standard DK yarn. It has a little trick so that it can be changed from being a headband, or cowl, and back again ‘at the drop of a hat’.


I love the way the fabric folds itself into pleats. The longer version uses 100 grams of DK yarn and has even more possibilities. It can be a double thickness hat, with or without an extra thick band. Both of these can be used as ponytail hats. It can be a snood or headband. It can also be used as a single thickness with the pleats held together, in a dramatic fashion, by a pin.


The green version starts in exactly the same way as the yellow. It has to be joined along the top so is not as adaptable as the others.


There are two reasons why it is called DECIDE

  • There are many variations so you have to decide how you are going to use it.
  • The word DECIDE is the same when you turn it upside down. So is this hat or cowl. The inside is the same as the outside and it looks the same whether you look at it from the top or the bottom. Turn it any which way and it will always look the same.

Buy the pattern for AVAVA at Ravelry or LoveCrafts
Buy the pattern for DECIDE at Ravelry or LoveCrafts

Patterns in need of new homes

I have been tidying up and have decided that the time has come to get rid of some things we will never want again. It is fairly easy to find new homes for many things but we have accumulated a lot that will only be of interest to collectors and craftspeople. Finding the people who might be looking for them can be quite tricky.

We had a large number of antique/vintage/old knitting and crochet patterns. Some of these have gone to people I knew had specialist interests but a lot still remain.

I have made a page with photographs of many of them and tried to organise them by topic. If you are interested in any of these, contact us via the link at the top of the page.

Click here to view the patterns.

Om

People often ask Steve to design particular illusion charts for them. He almost always says no. It is very time consuming and he always test-knits things himself to make sure they really work. He is always willing to help someone wanting to create their own and their are also tutorials on our web site.

A few weeks ago someone asked for help to create an illusion chart for the Om symbol. She just caught him at a time when he wasn’t designing anything else, and it was small and fairly easy, so he did it himself and we wrote a pattern for it.

llusions are notoriously difficult to photograph. This one shows the effects quite well from several different angles. This is probably because it is small with strongly contrasting colours. It was knitted in crochet cotton but would work in any yarn.

Buy the pattern – Iconic Om Illusion

In other news …

A few months ago I wrote about the eventful start we had to this year. One part of this was about my elderly step-father who moved into a very nice care home on February 15. Within days the home went into lockdown because of a stomach bug. It was just beginning to open up and Covid 19 came along. The home has fared very well and has sent us constant updates.

On June 25 (his 92nd birthday) Arthur fell and bumped his head. It was a very minor fall which didn’t require any treatment. The next day he fell again and had a very painful knee. The doctor came to see him. He was taken to the local hospital where they didn’t find anything seriously wrong though there was concern about why he had fallen twice.

The next day he had developed severe bruising and a lump on the knee so was taken, by ambulance, to another hospital for scans and other tests. They did not find anything wrong and he was provided with a zimmer frame so he could walk more easily. While he was there he was tested positive for Covid 19. He had not had any contact with anyone outside the home and there had never been any positive test on residents or staff at the home. His only contact with the outside world was on the previous day when he had been briefly to the hospital. The time frame seems far too short to be showing any signs of having contracted the virus.

Because of the positive test he had to stay in the hospital for seven days even though he did not need any treatment there. On the sixth day he was tested again, with a negative result. He was sent back to the home but they refused to accept him because the seven days were not up and they had not been notified of the negative result by email or fax. Back to the hospital again in the ambulance. I was kept informed by the home and hospital but, as it was now the weekend, they couldn’t do anything more until Monday. He was finally taken back to the home on Tuesday. Everything was fine. He is still very intelligent and astute but his short-term memory is failing. He wasn’t troubled by what had been happening because he didn’t really remember it.

In February we bought a Portal and this has proved to be a very good thing. He can cope with it much better than he could with a mobile phone. We have only ever had one problem which was when someone had accidentally turned off the power to it. On Tuesday of this week (roughly a month after his return to the home) we spoke to him on the Portal. He looked fit and well and said he was still using the zimmer frame because he felt safer that way.

On Wednesday we got a phone call from the home to say that, in the routine tests, he had again tested positive for Covid 19 and had to be confined to his room for 14 days. This won’t worry him. He is showing absolutely no symptoms. Everything he wants is brought to him and the room has its own wet room and toilet. There have still been no other positive tests at the home so the whole thing is a complete mystery.

Saturday August 8 update – He tested positive again but still absolutely no symptoms.
Wednesday August 12 update – Another negative test.
Monday September 7 update – Another positive test and, because of that, the care home has been closed to visitors until October 6.